Editing Blueprints
After installation or creation, Blueprints can be adjusted. All changes are applied directly within the Blueprint overview.
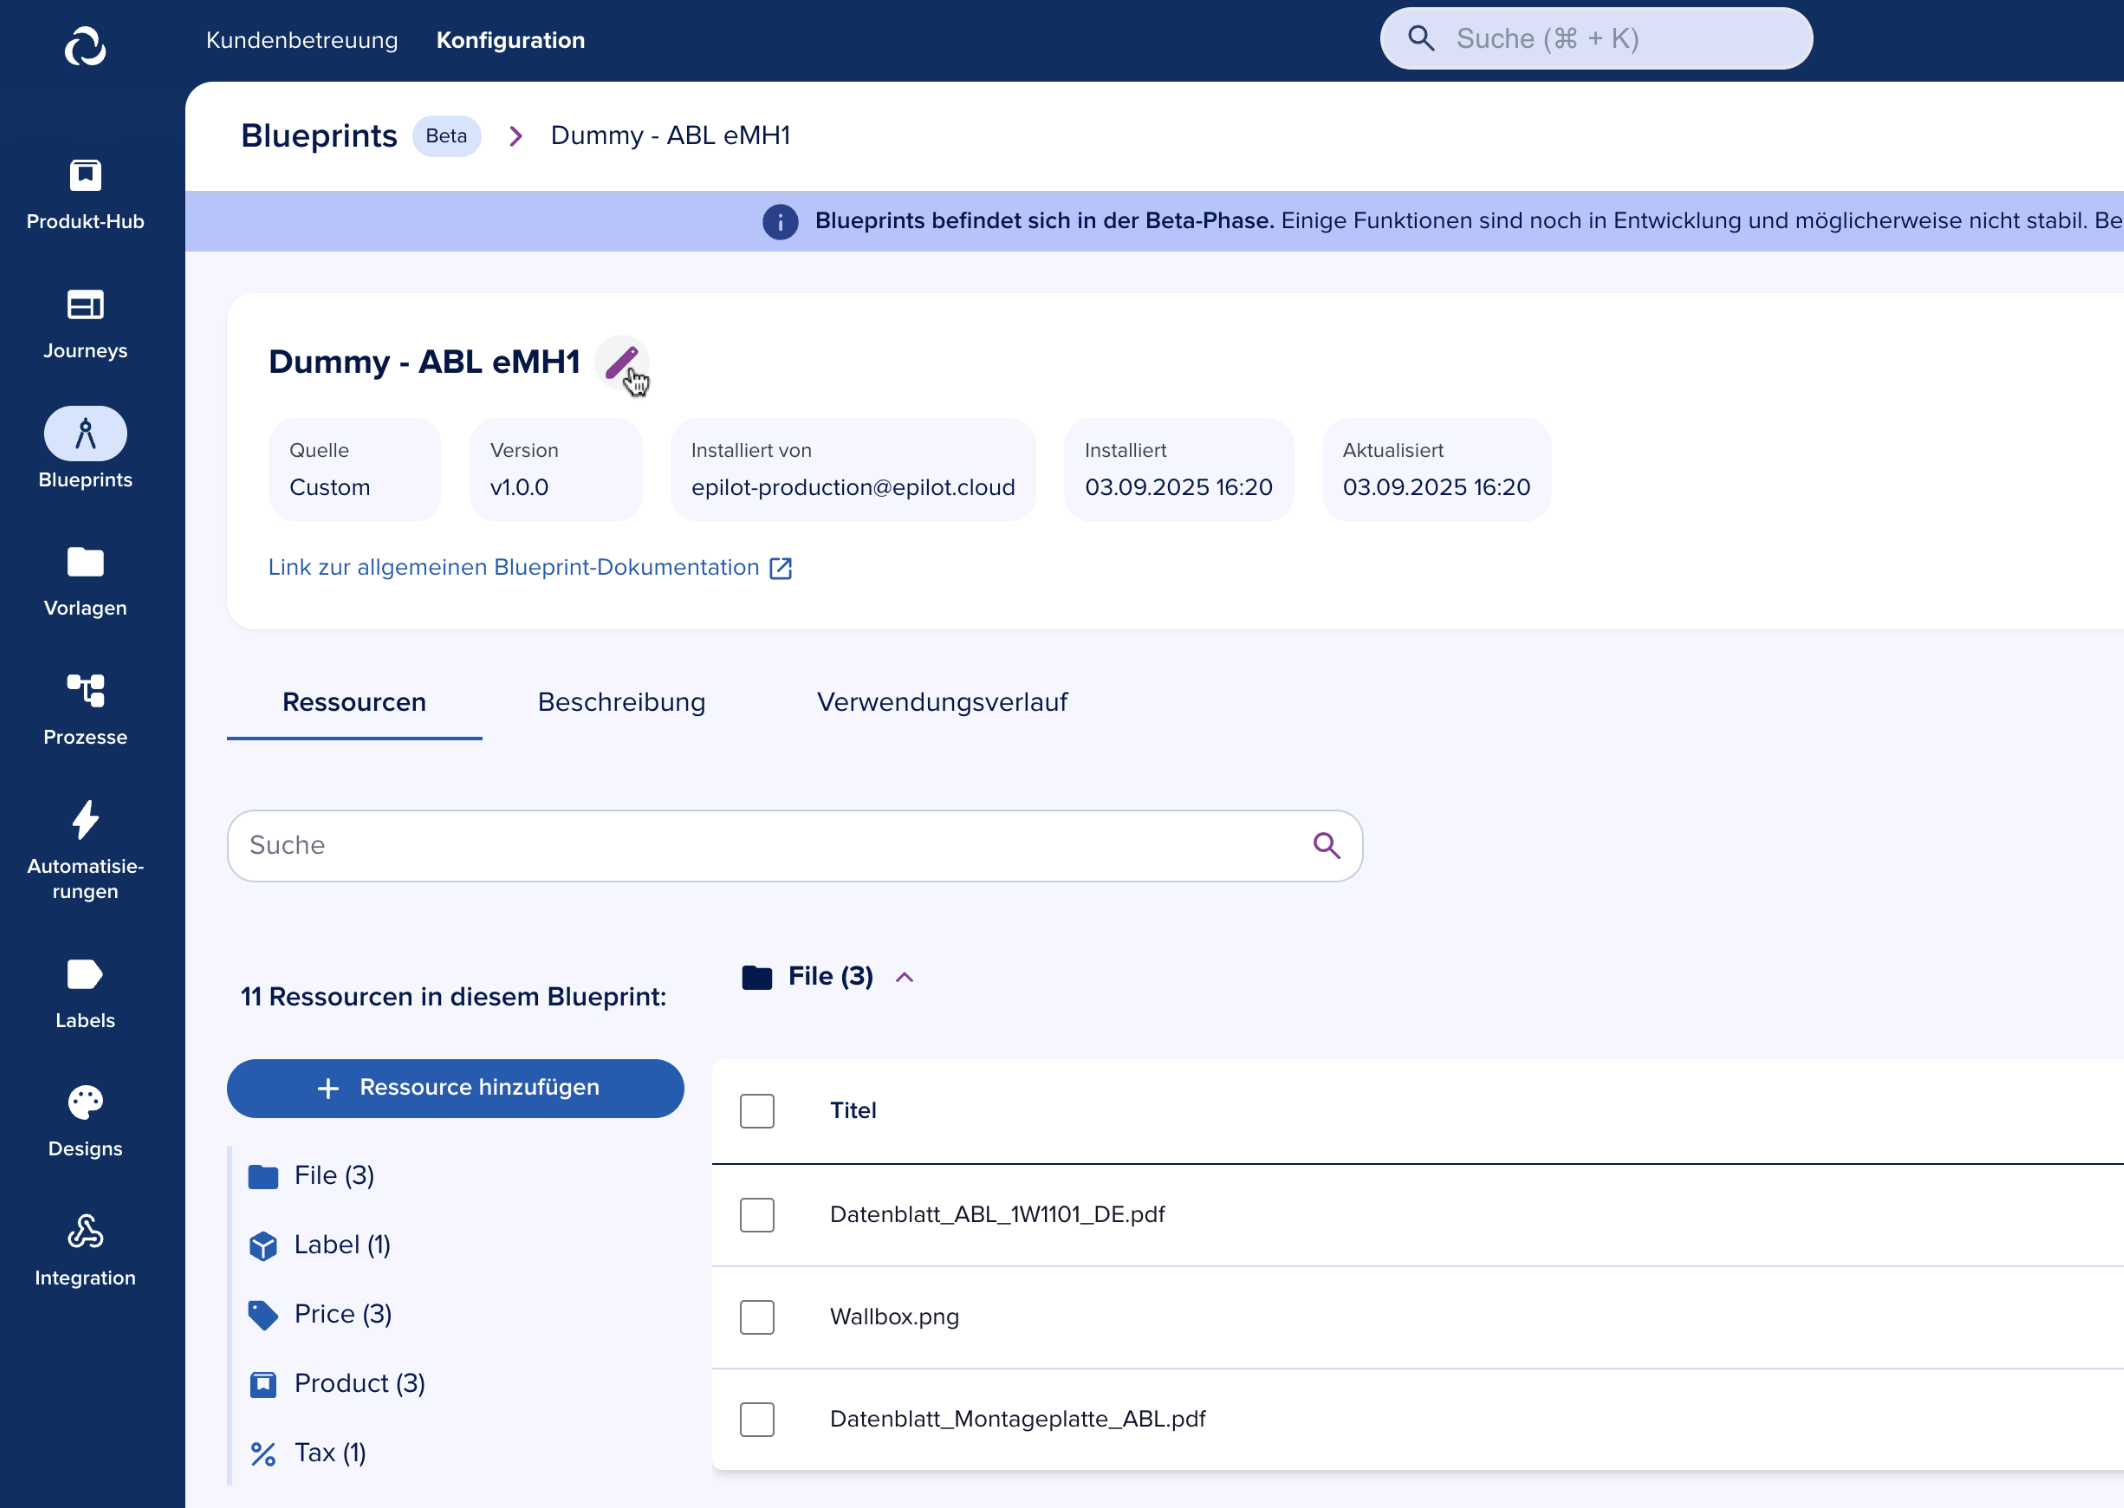
Changing Blueprint name
To change a Blueprint’s name, hover over it, click the pen icon, enter the new name, and confirm by clicking the checkmark icon.
Adding Resources
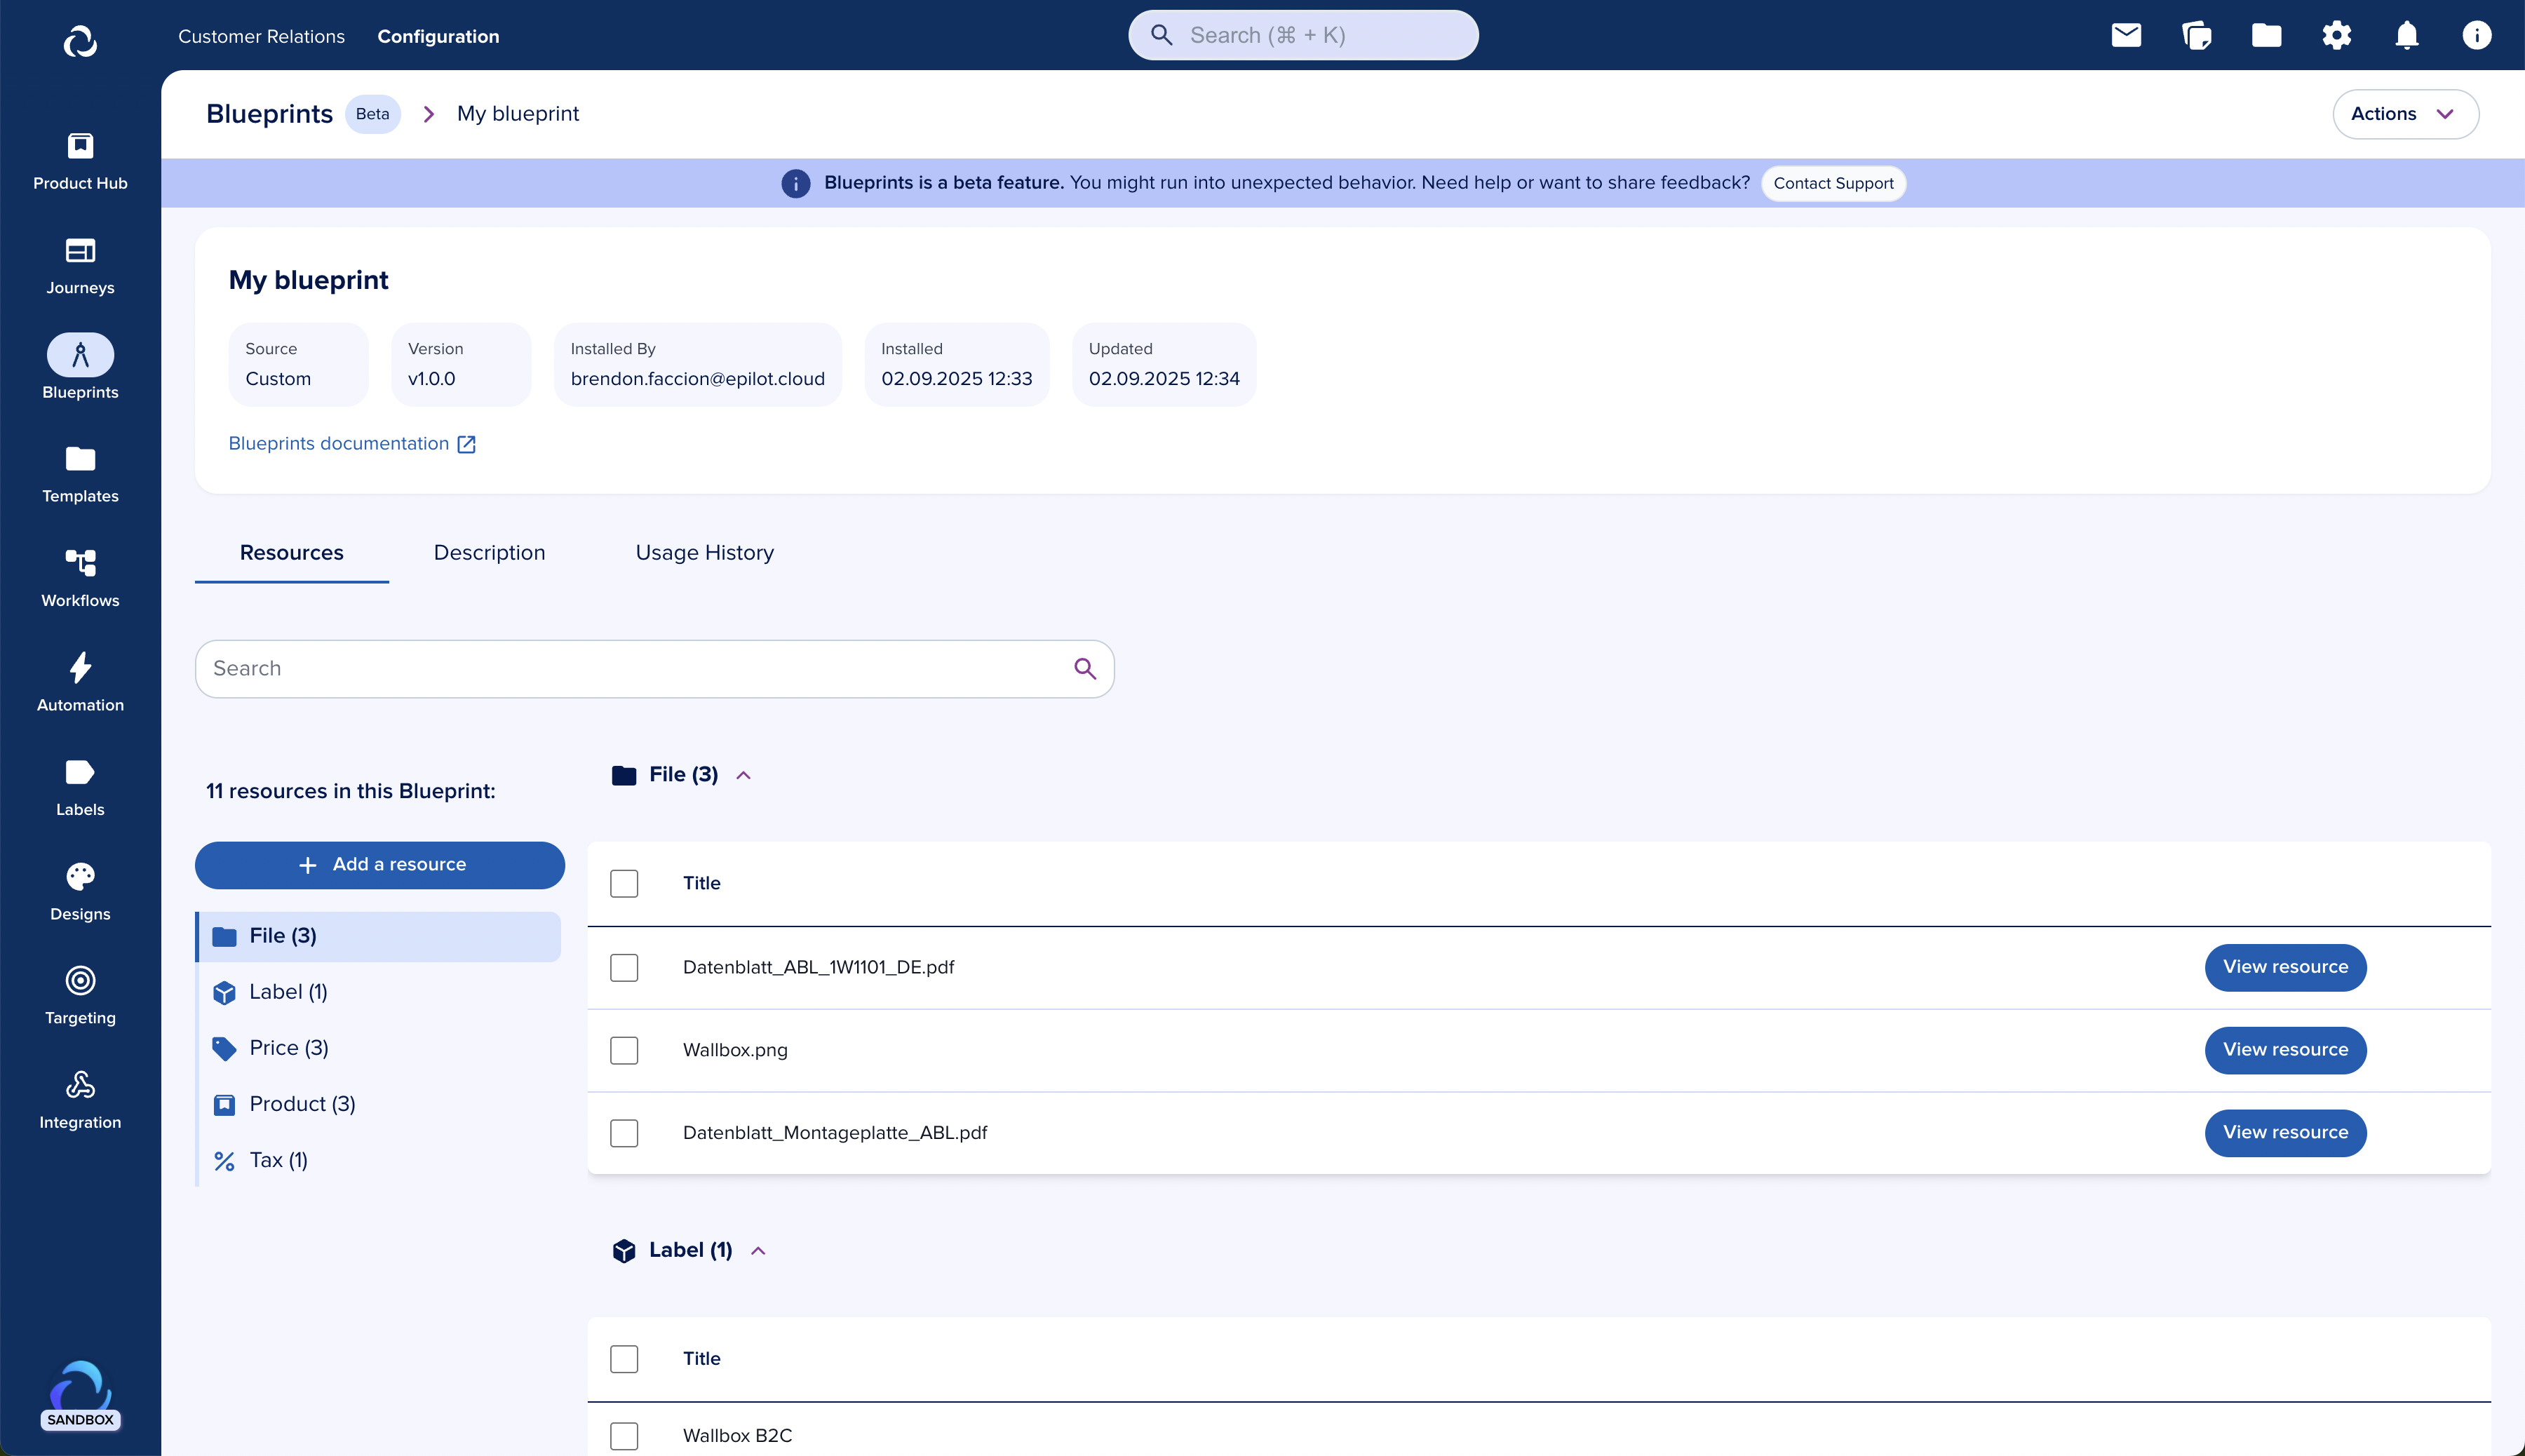
Click the "Add Resource" button on the left.
Follow the procedure for adding a resource, the same as when creating a Blueprint.
For detailed instructions, see Creating a Blueprint.
Removing Resources
In the Blueprint overview, select the resources you want to remove.
Click “Delete from this Blueprint” to remove them.
info
Note: Resources removed from the Blueprint still exist in your organization. They are simply no longer a part of this Blueprint.

Actions
Blueprints offer a set of actions that allow you to manage and share them efficiently. The available actions can be accessed from the top-right navbar of the Blueprint overview.
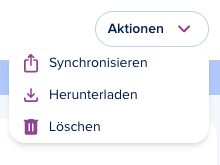
Synchronize with another organization
Transfer the Blueprint and its resources to other organizations you are associated with.
For detailed instructions, see Synchronizing Blueprints.
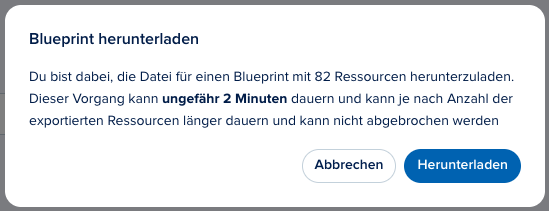
Download
- Download the Blueprint by selecting Actions → Download in the top-right navbar and confirming the operation.
info
Note: This function is only available for custom Blueprints, not for those installed from the Marketplace.
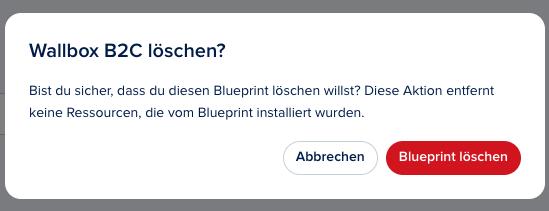
Delete
- Remove the Blueprint by selecting Actions → Delete in the top-right navbar and confirming.
info
Note: Deleting a Blueprint does not delete the underlying resources in your organization. It only removes the grouping of those resources as part of the Blueprint.
Synchronizing your blueprint with another org
When a Blueprint has been created or installed in your sandbox, you can synchronize it with other organizations you are associated with. Synchronization transfers configuration resources -- journeys, automations, products, workflows, entity schemas, and more -- from one tenant to another.
The Blueprints tab lists all Blueprints available in your organization -- both custom-created and installed from the Marketplace. The Source column indicates where each Blueprint originated.
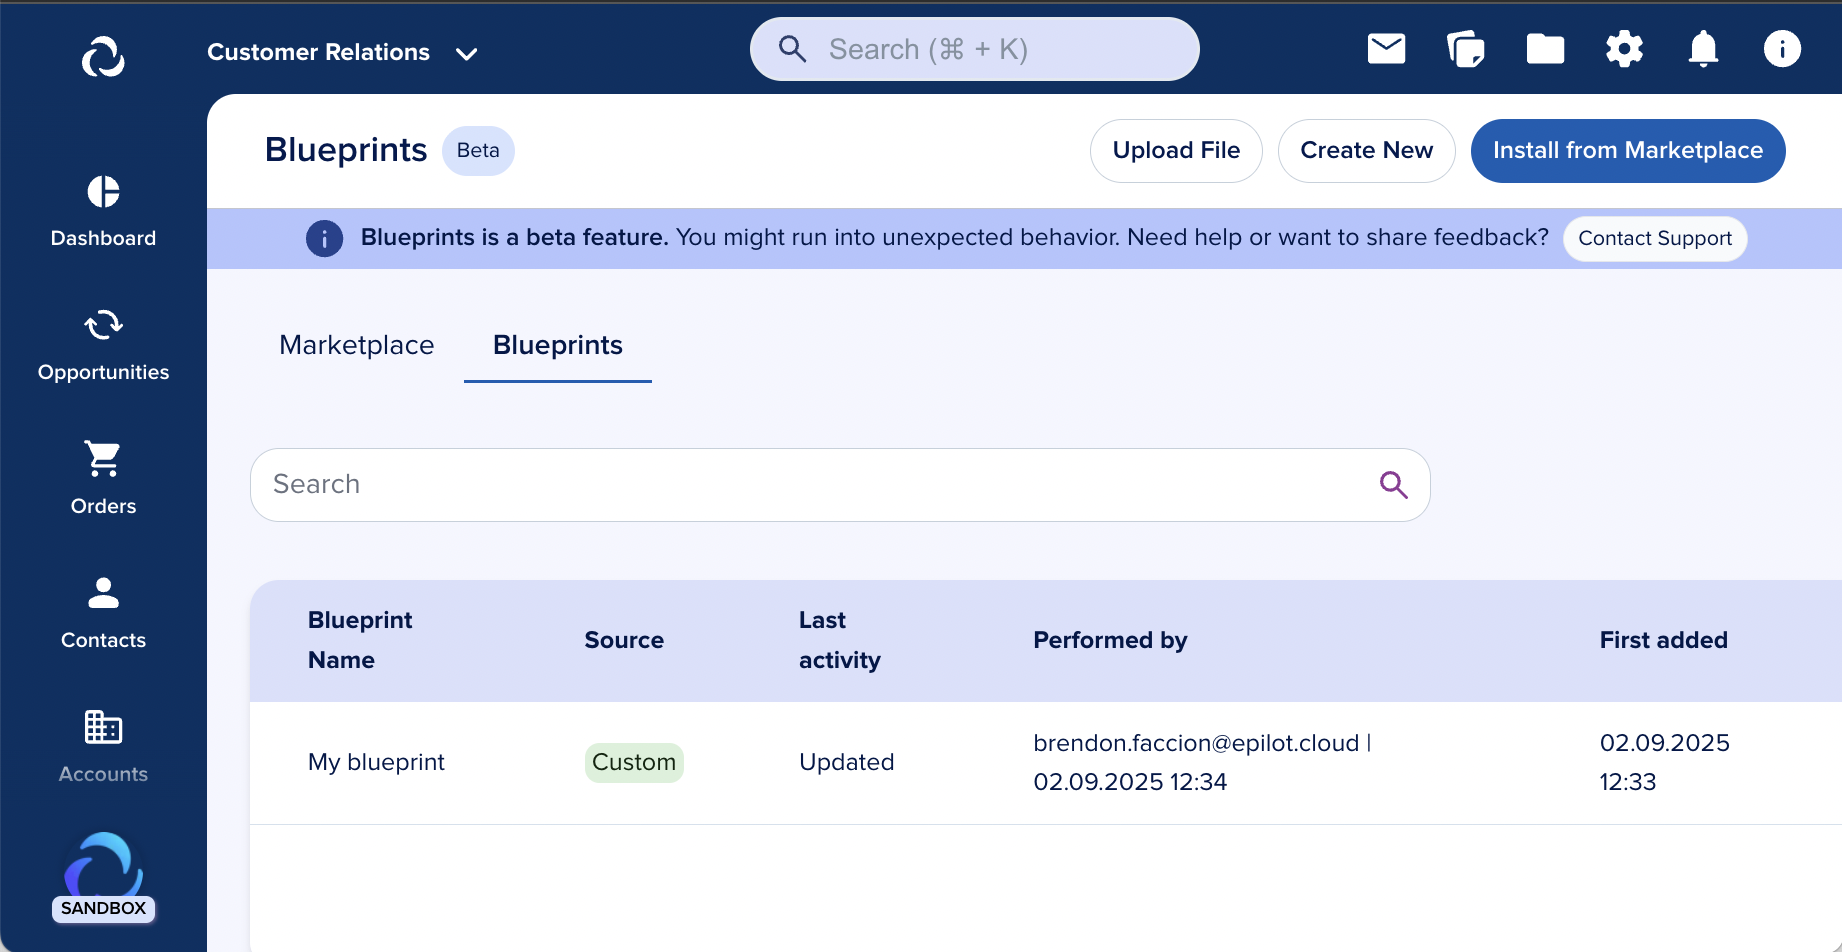
Clicking a table item opens a detailed view of the resources included in the Blueprint.
This page also allows you to easily manage all the resources involved with your blueprint.
As of now, those resources only exist on the current sandbox organization, but after you are happy with the configuration, you can easily “sync” this blueprint with another org (typically, the associated production organization).
This will create a copy of this blueprint, together with the current state of each resource, and apply them on the selected destination org.
The Synchronization Process
The process will look similar to the blueprint installation process:
Click on “Actions → Synchronize” on the top right corner.
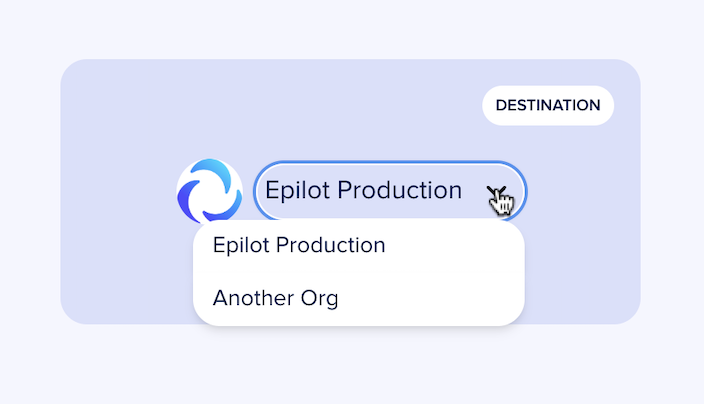
Select the destination organization where you want to transfer your Blueprint.
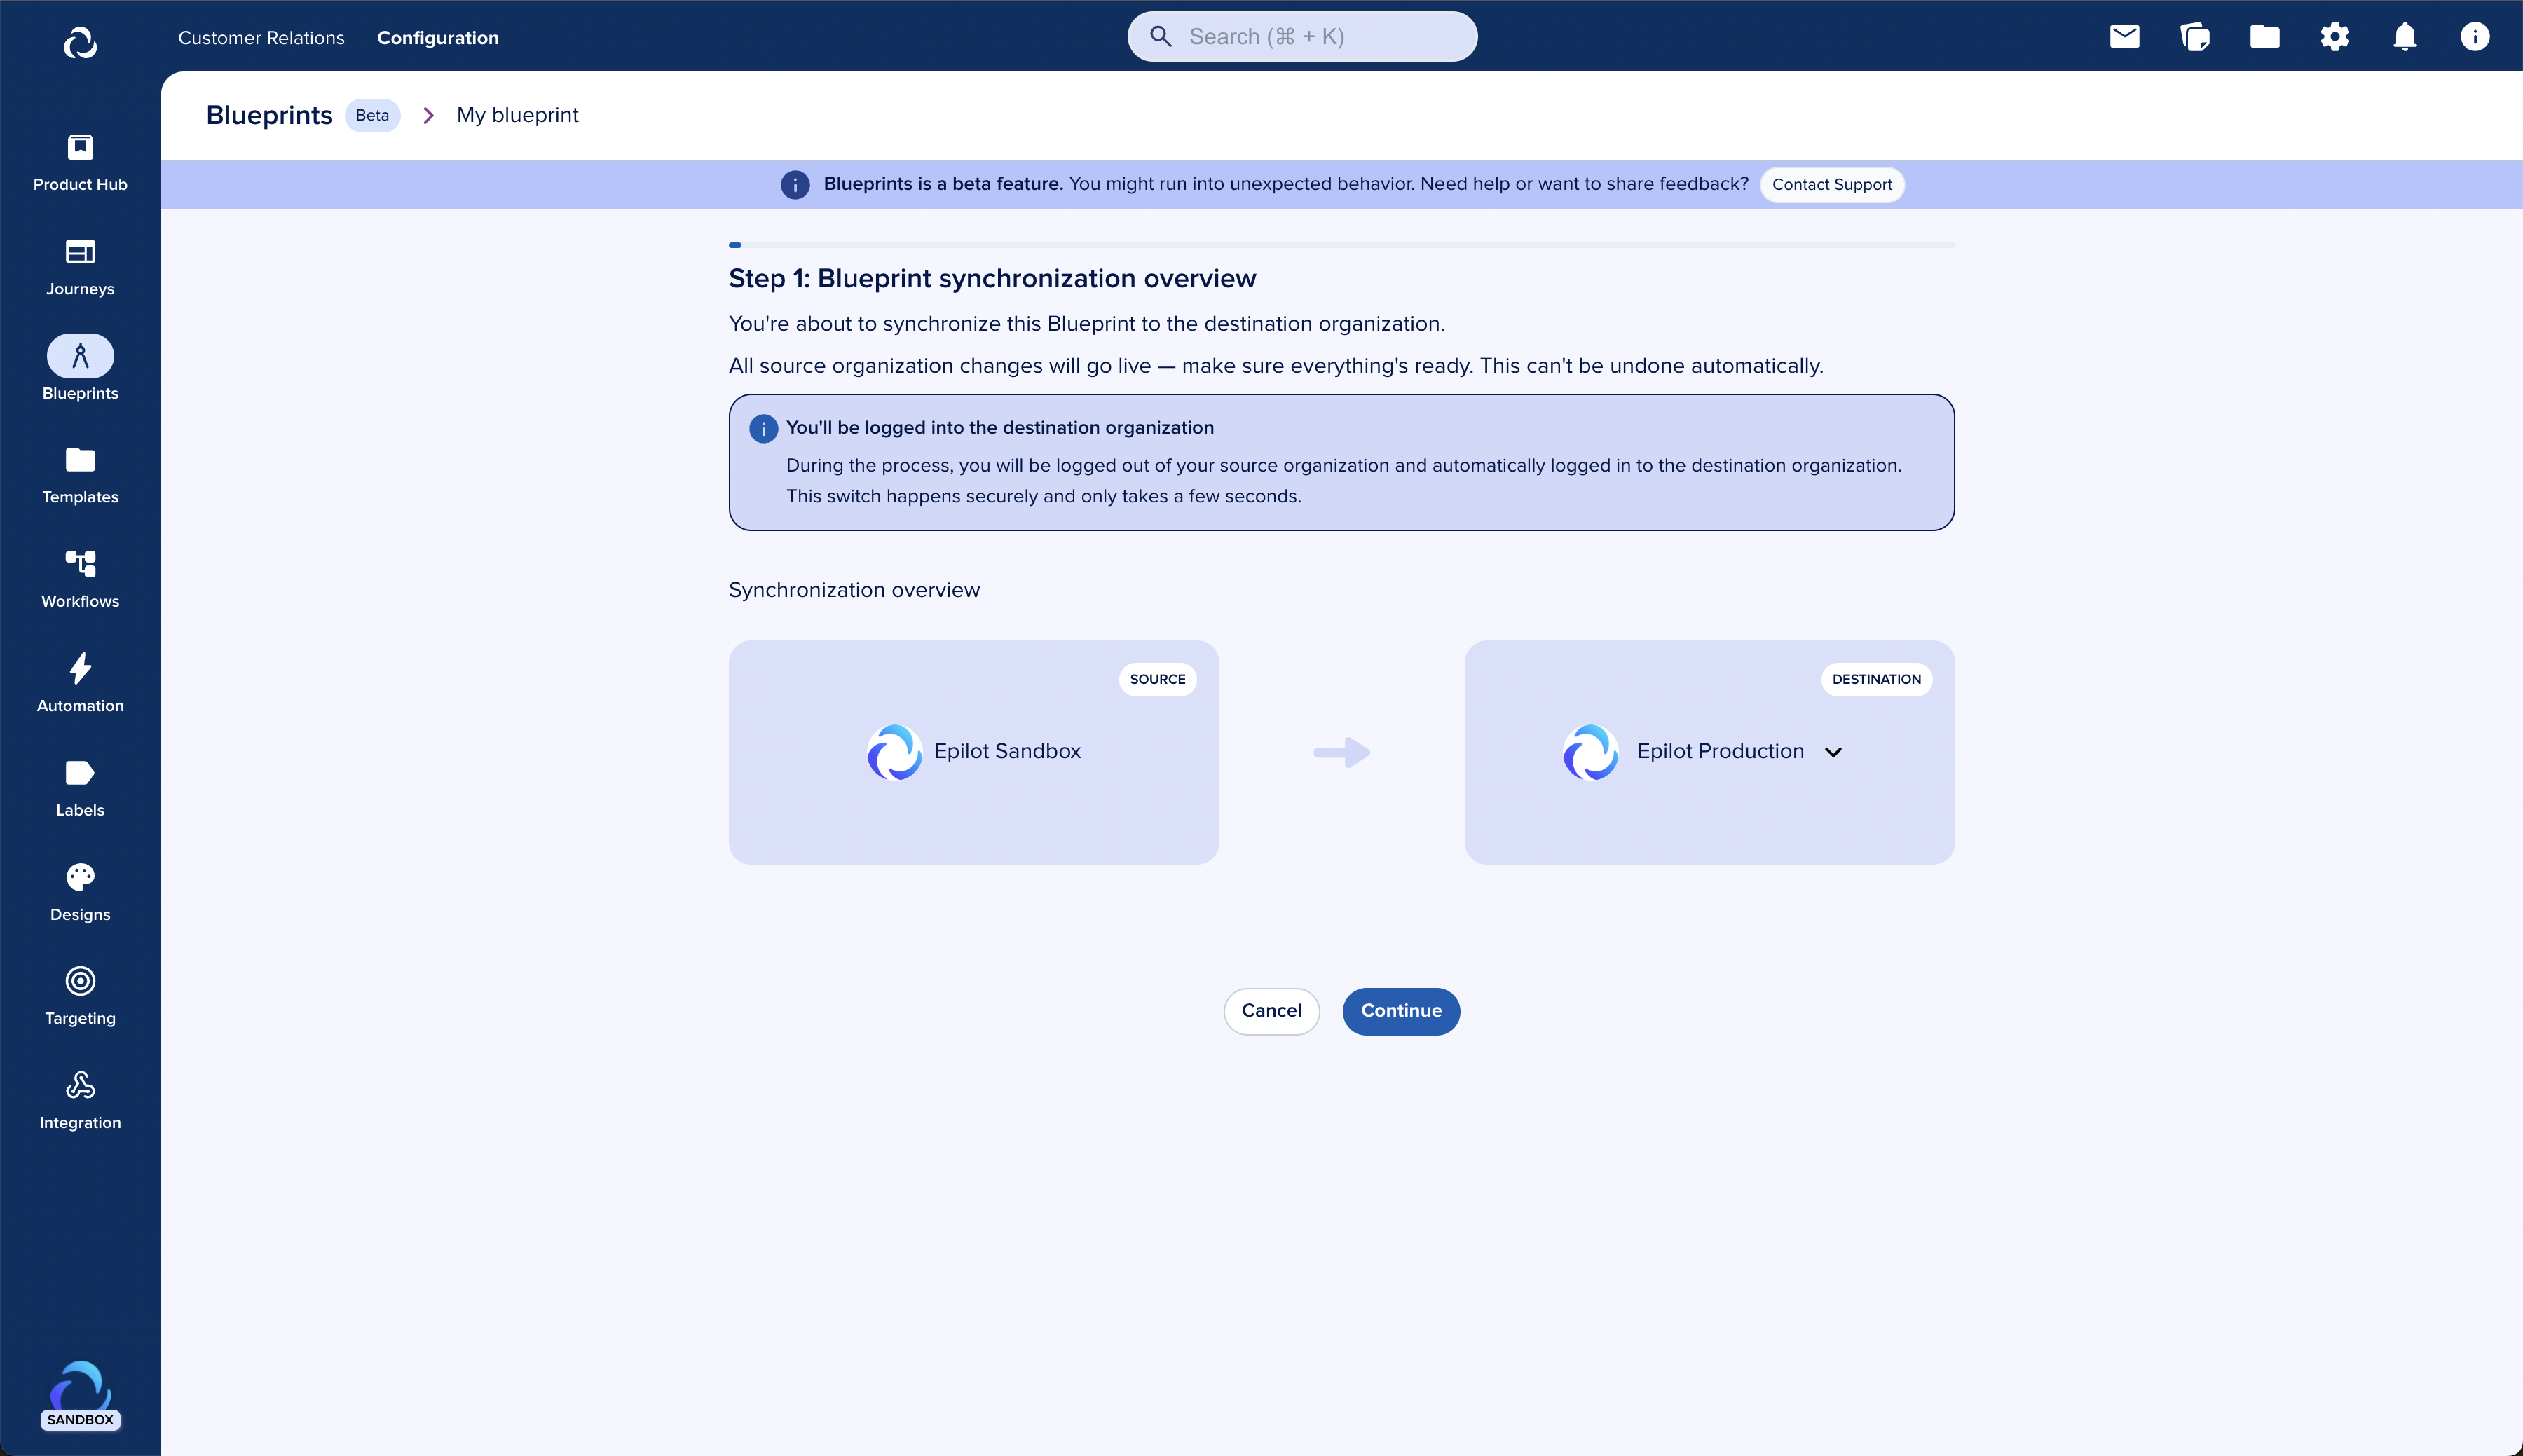
Select your production org and click on “Continue”.
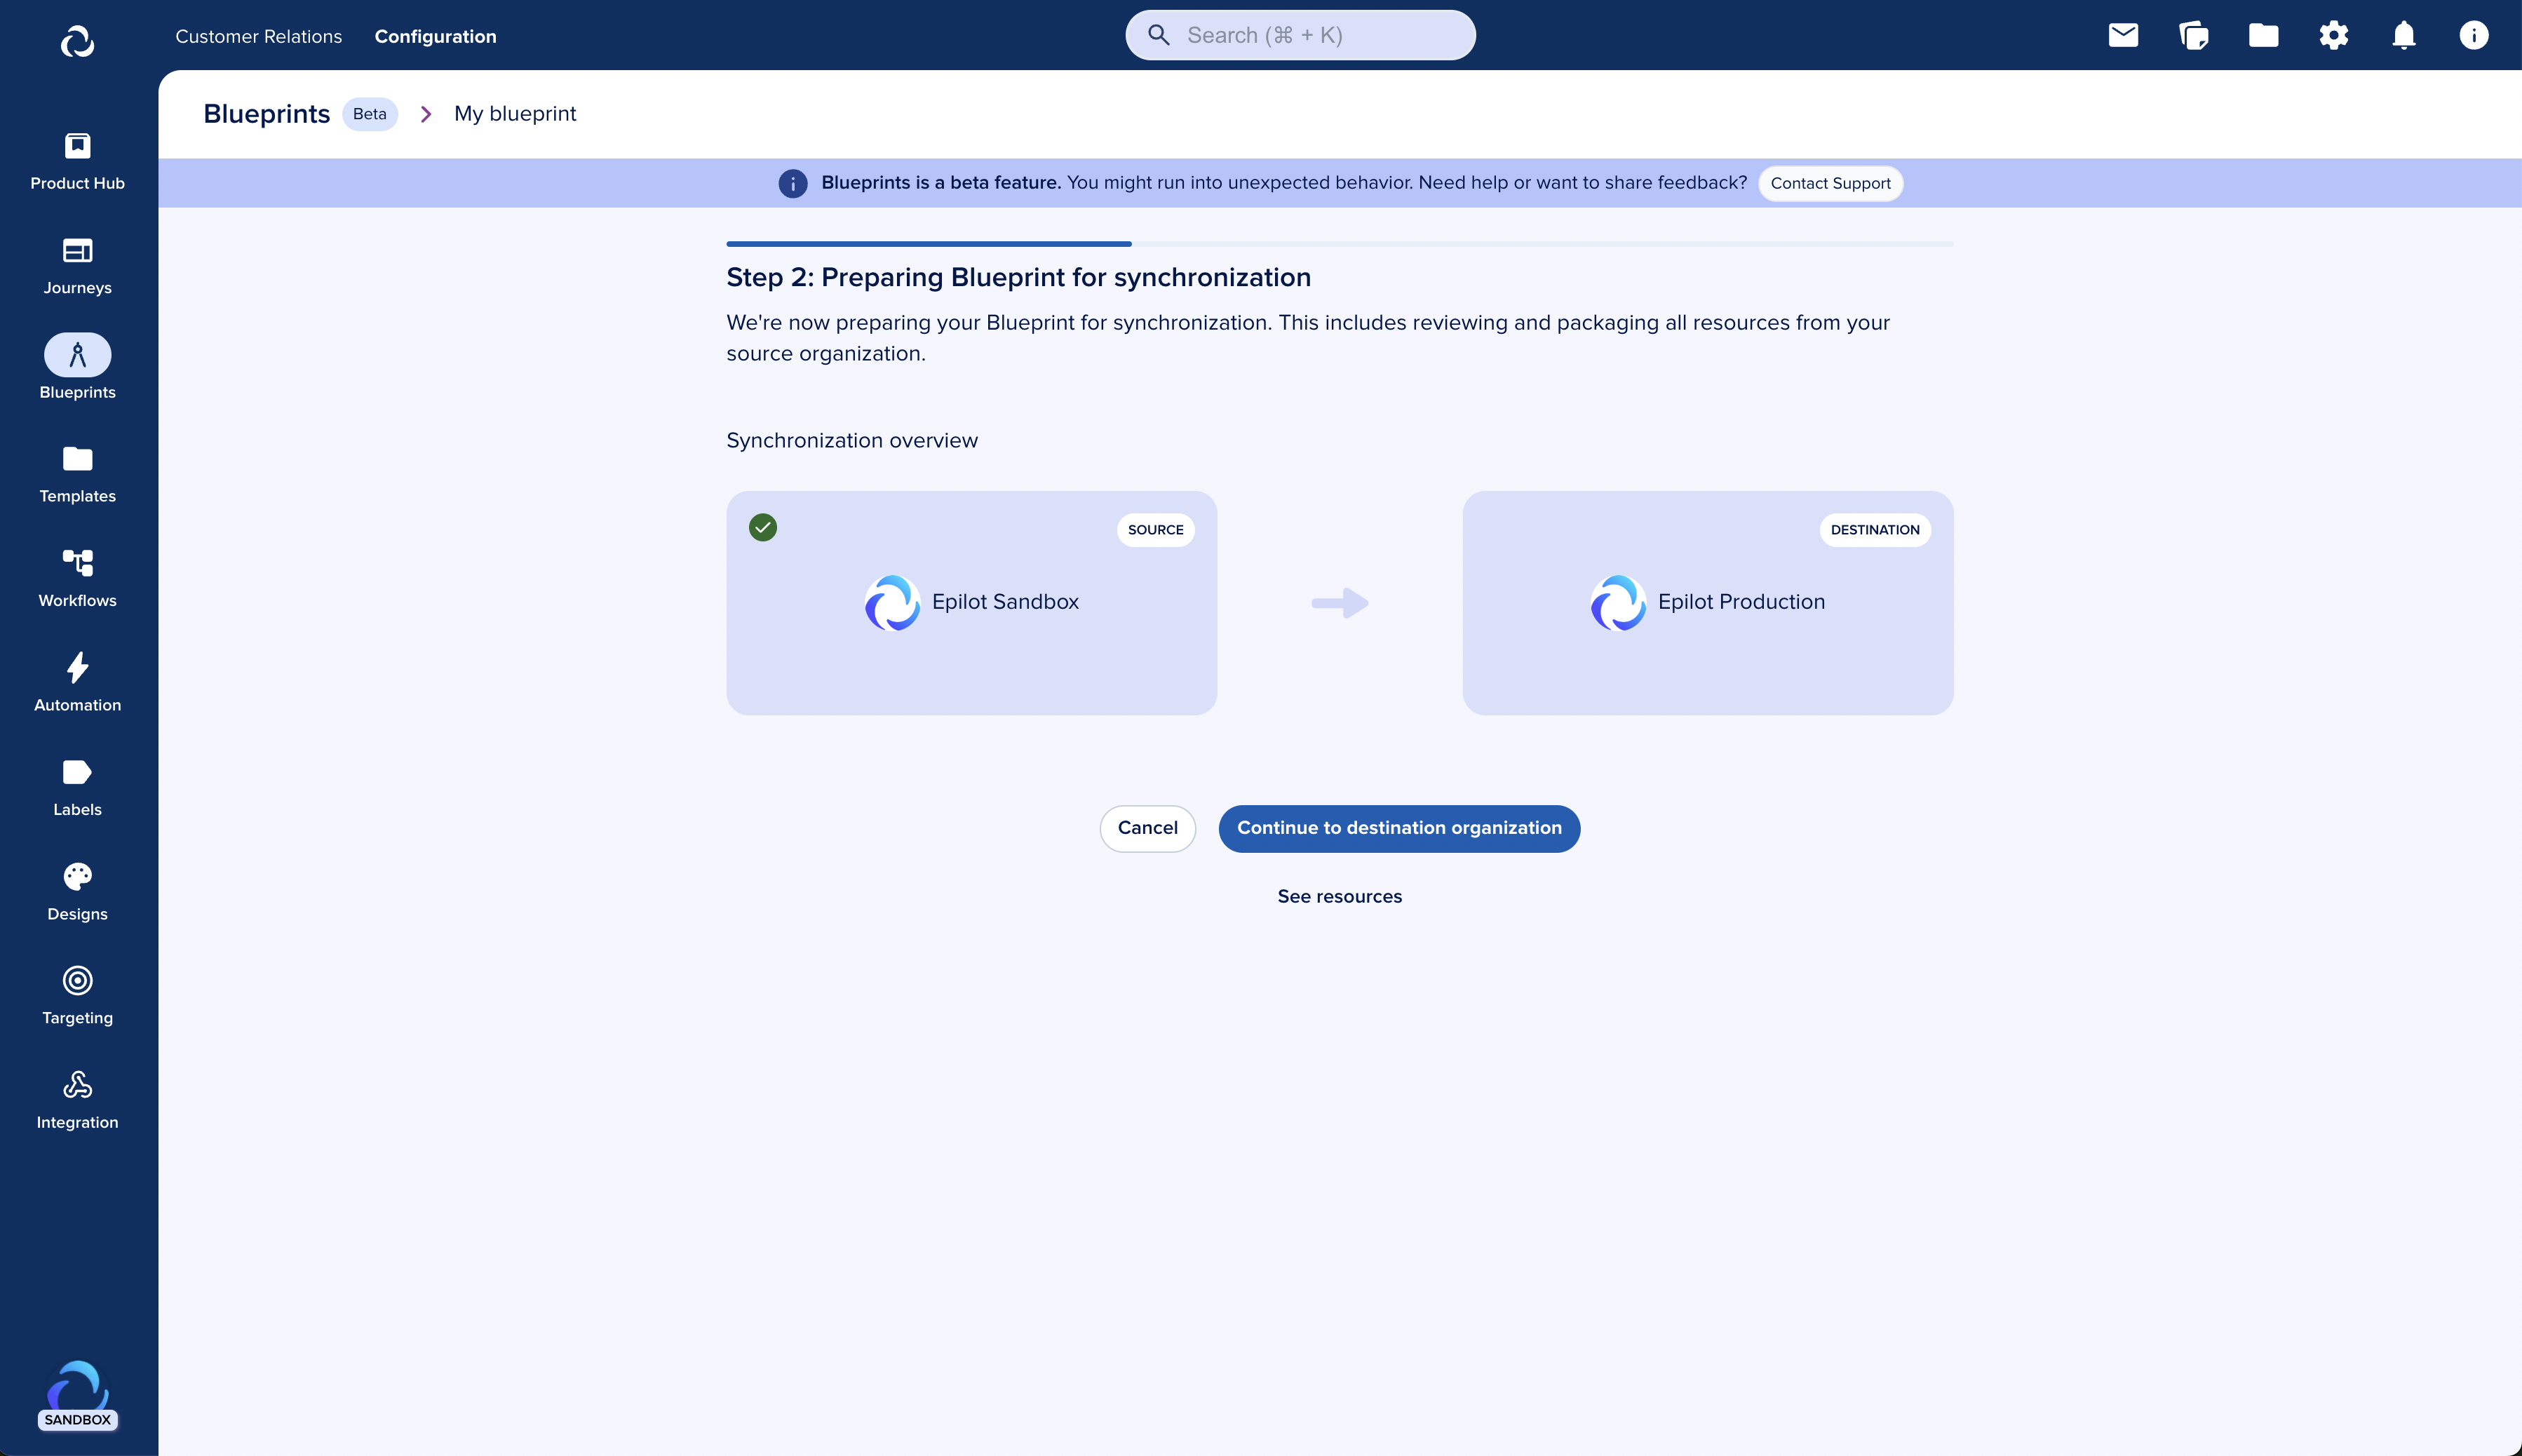
Now we will prepare the resources of your blueprint for synchronization.
Depending on the number of resources, this may take 1-5 minutes. When ready, click "Continue to destination organization".
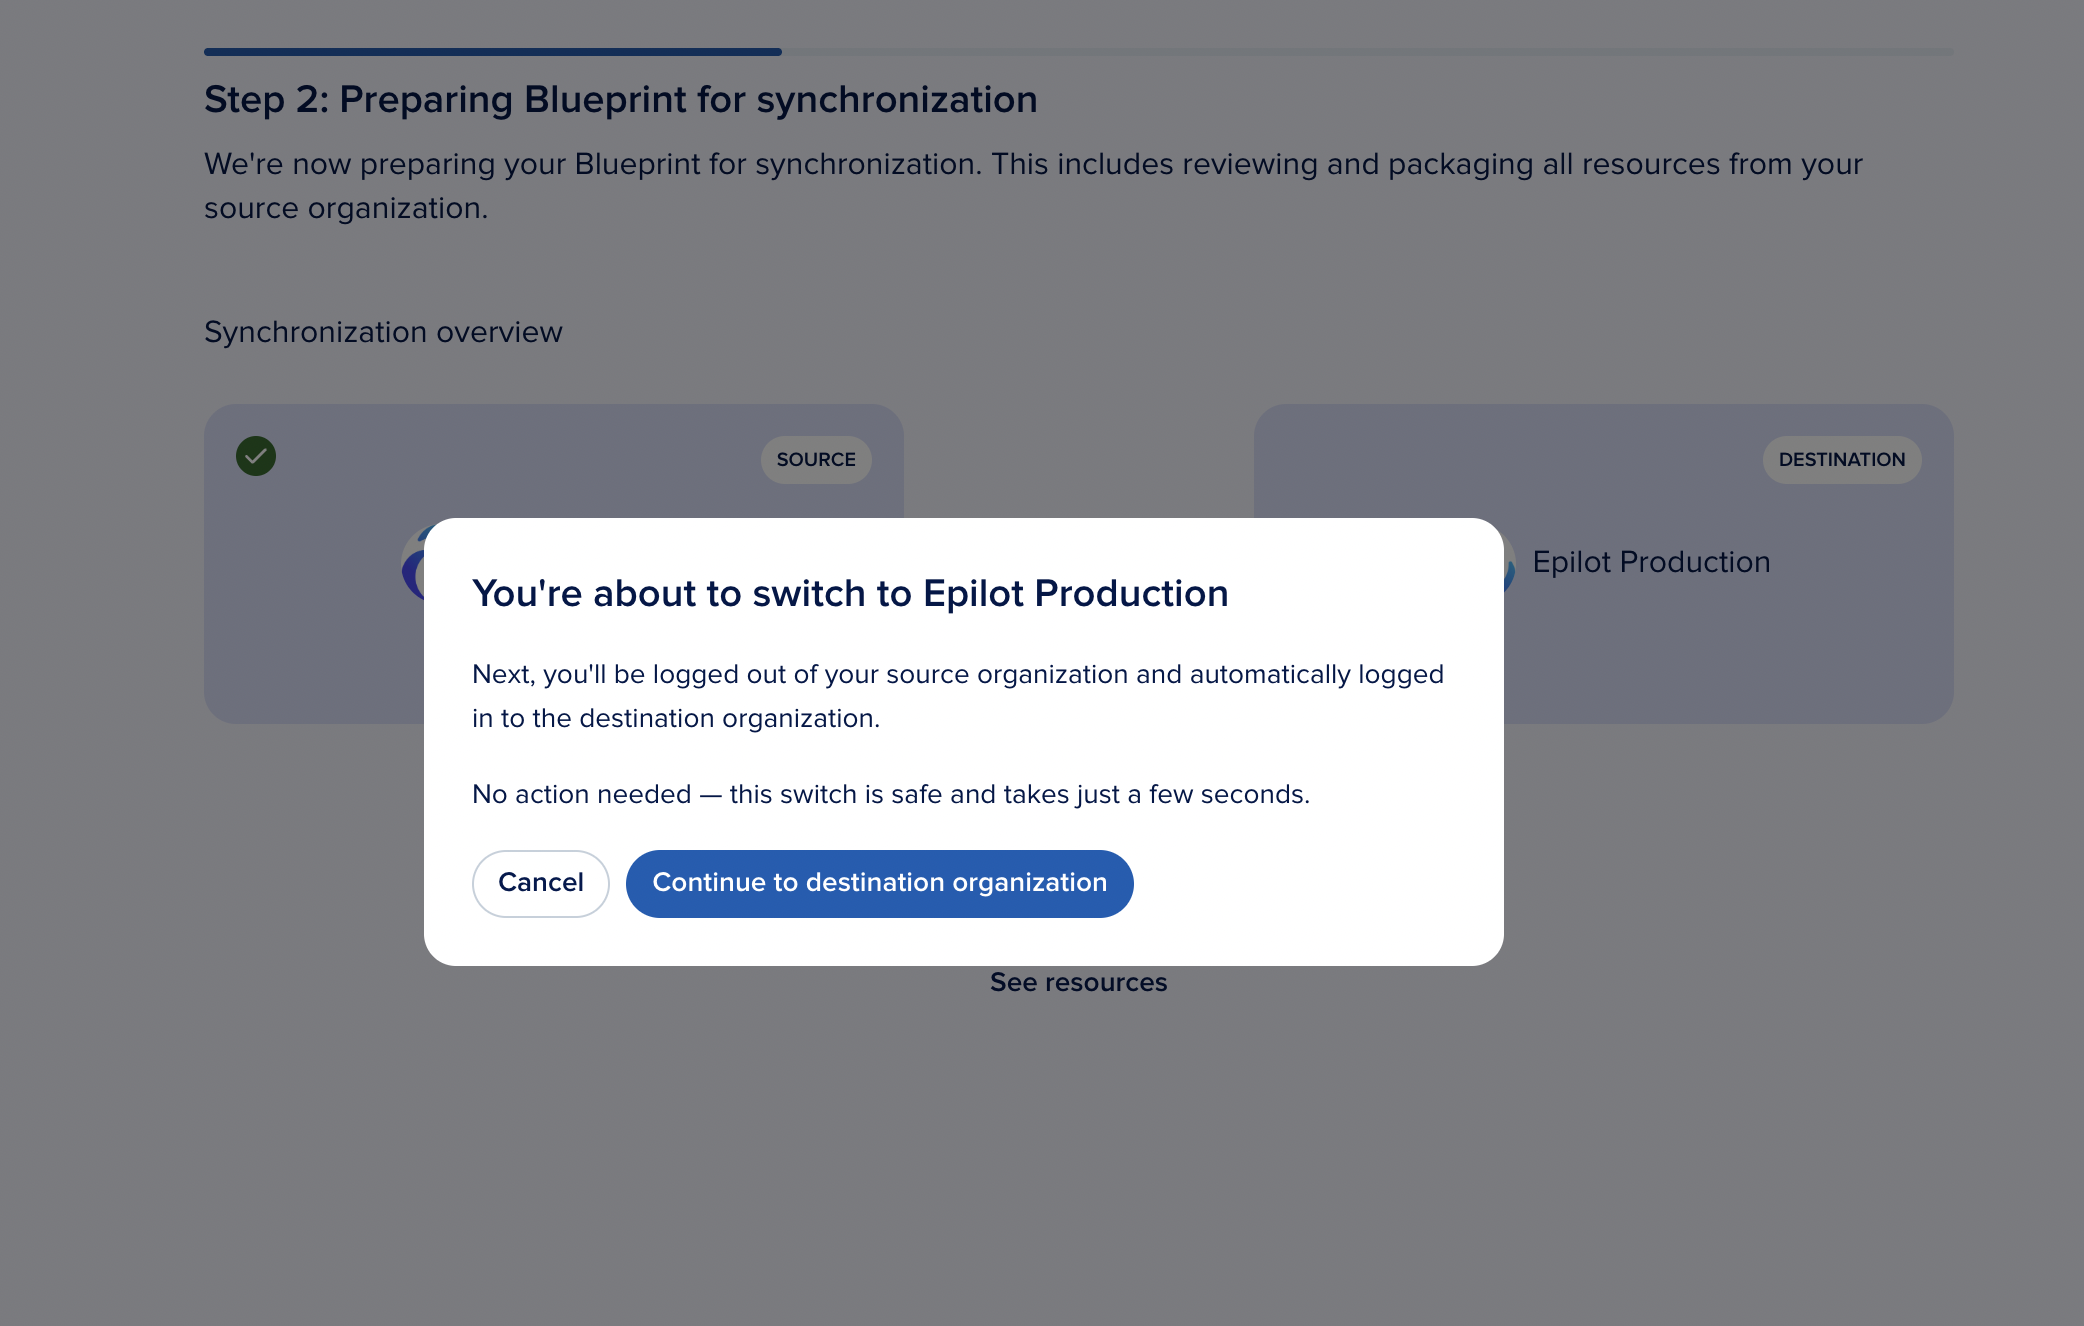
Switching to the destination org
You will be prompted to switch to the destination organization to finish the sync. Click continue and you will be redirected.
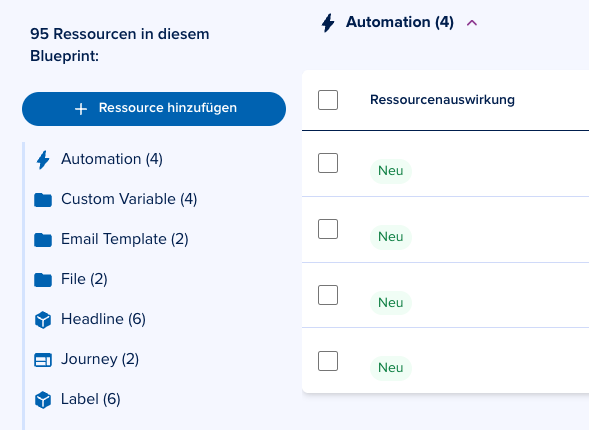
Reviewing the resources impact
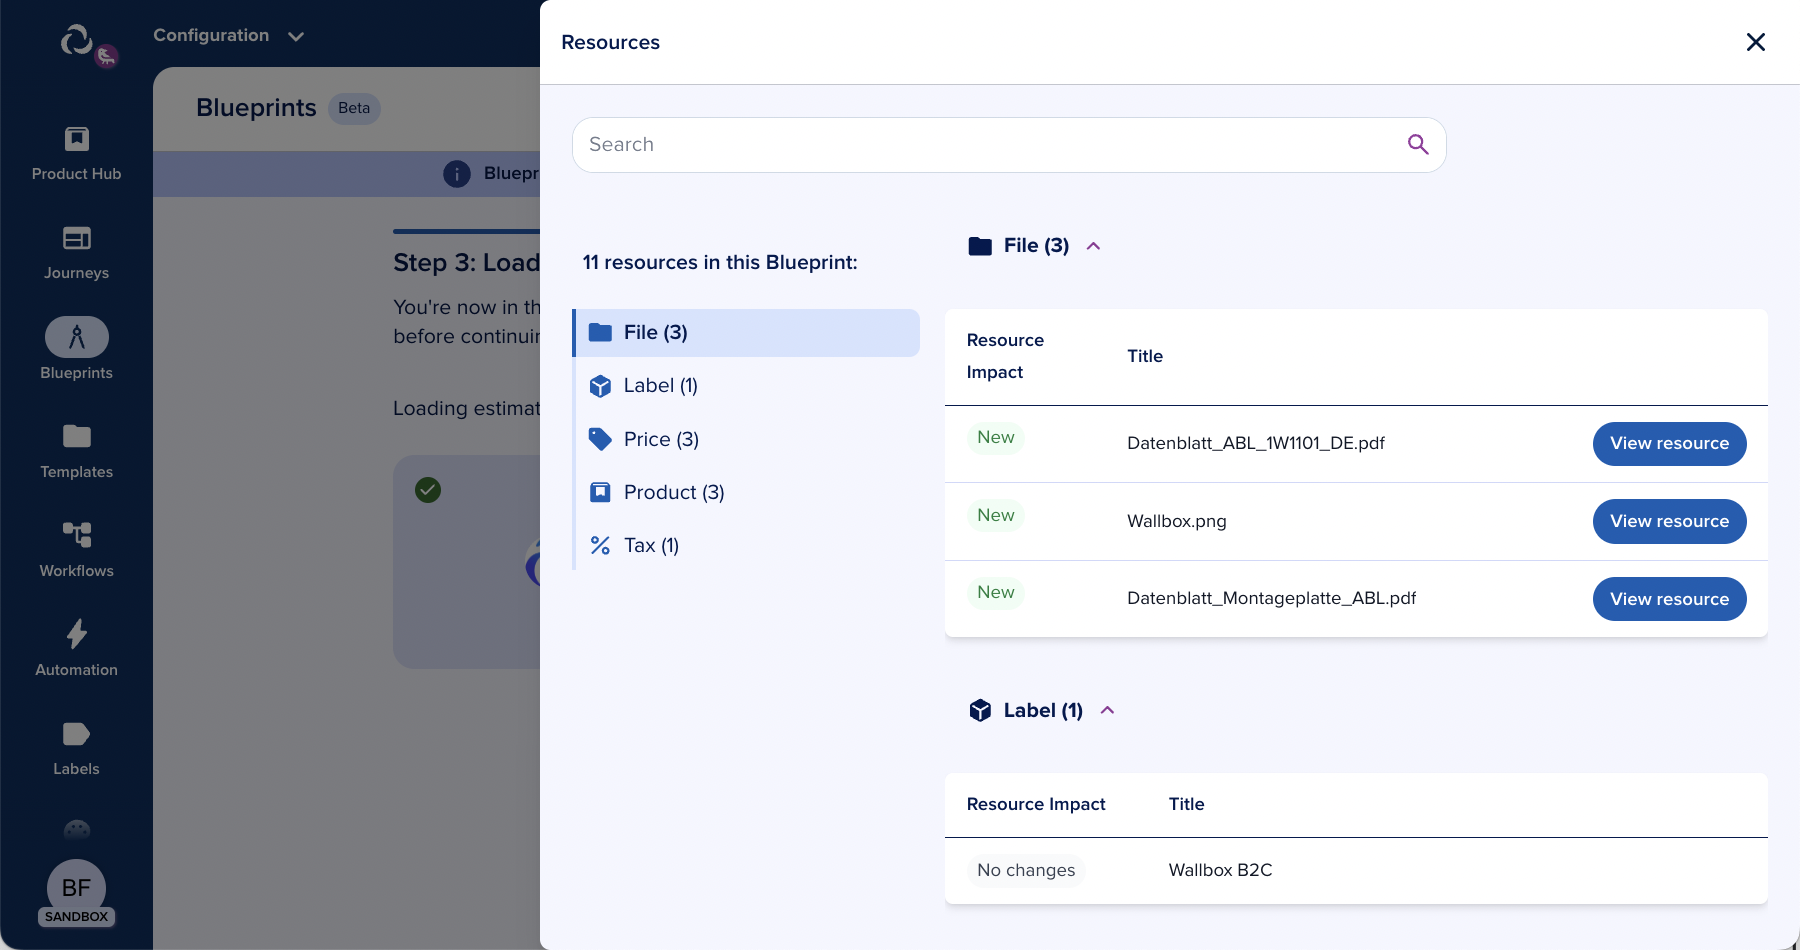
On the destination organization, review the impact this Blueprint will have on existing resources -- similar to the installation process.
Click "See resources with their impact" to review. Each resource is labeled:
- New -- will be created
- Update -- existing resource will be updated
- No changes -- already in sync
- Delete -- will be removed
If everything looks correct, click "Synchronize Blueprint" to finish the process.
The success page provides a link to view the Blueprint instance in the destination organization.
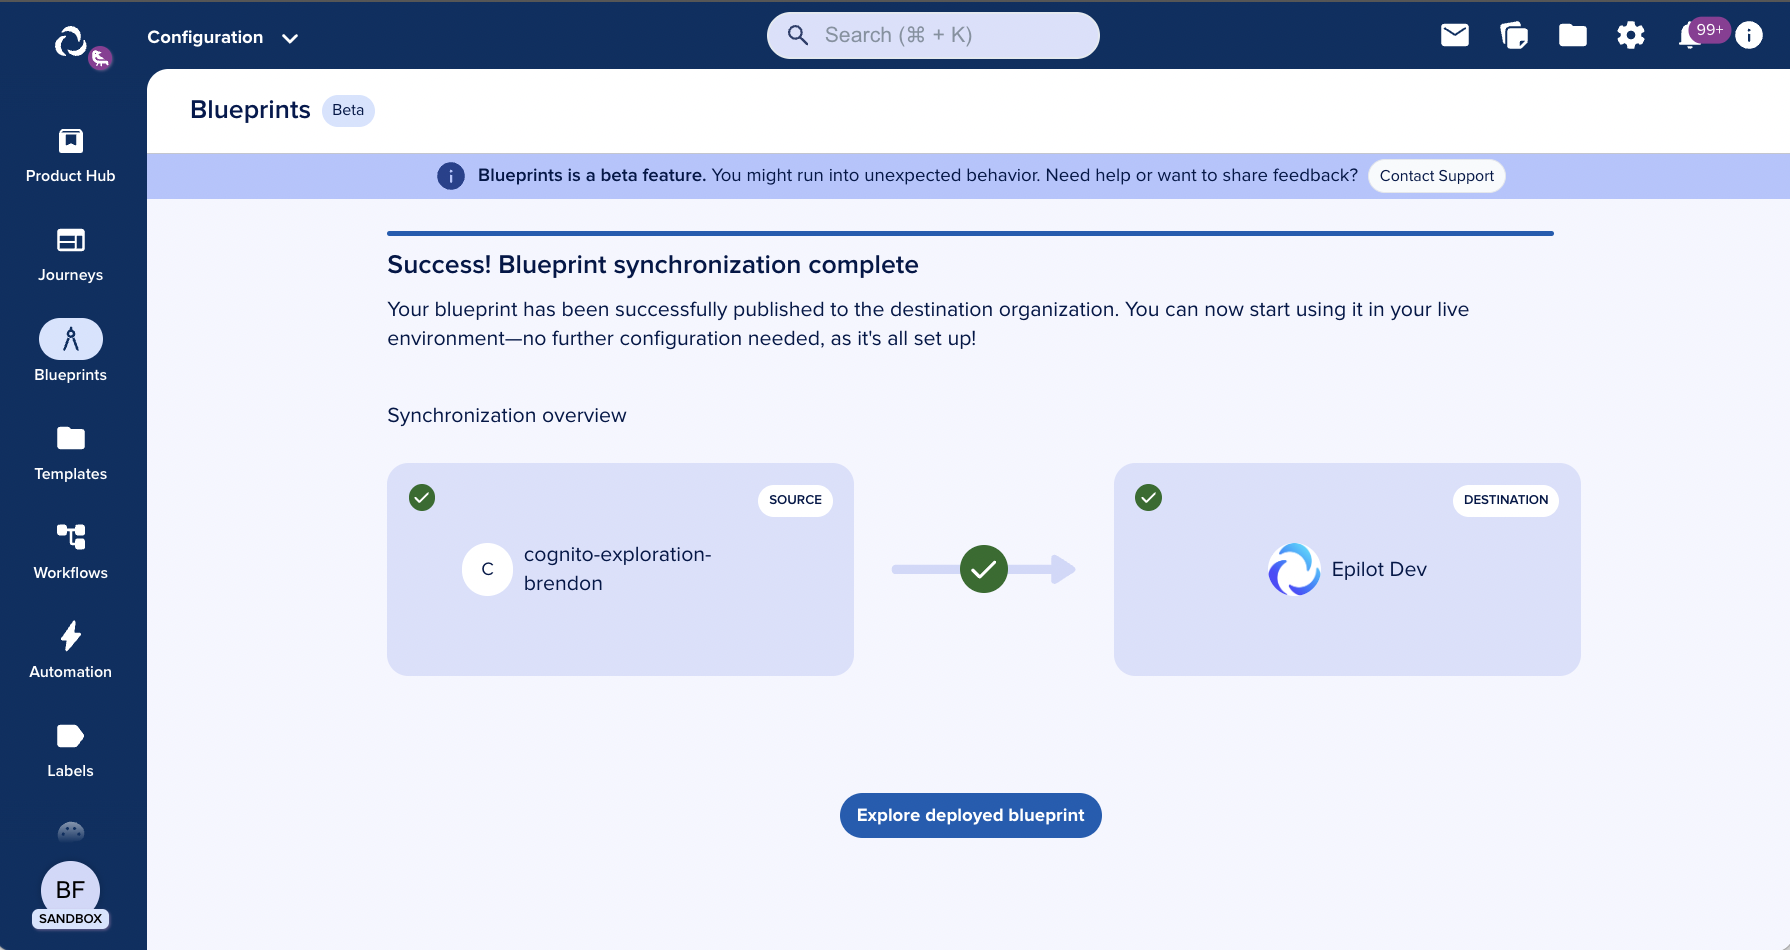
You have synchronized your sandbox Blueprint to your production organization.
Further editing the blueprint
You can now edit and manage your Blueprint. See Editing Blueprints for details.
To sync changes back to the sandbox, repeat this process starting from the Blueprint overview page of the destination organization.
info
We recommend experimenting with changes in the Sandbox and syncing to Production only when you are satisfied with the setup.
The same applies to the Blueprint in the sandbox -- you can continue adding, removing, or editing resources. Changes remain in the sandbox until you select "Actions > Synchronize" again.