Installation from Marketplace
info
Blueprints are currently in closed BETA only available to selected customers.
To install a blueprint from the Marketplace navigate to Configuration → Blueprints → Marketplace tab.
Here you can search and discover blueprints tailored for common energy-market use cases.
After finding the one that fits your business, click on “Install now”.
info
Installation of a Marketplace Blueprint is possible only in a Sandbox testing environment. If you don’t have a sandbox yet, check the Sandbox documentation.

You have two options of installation:
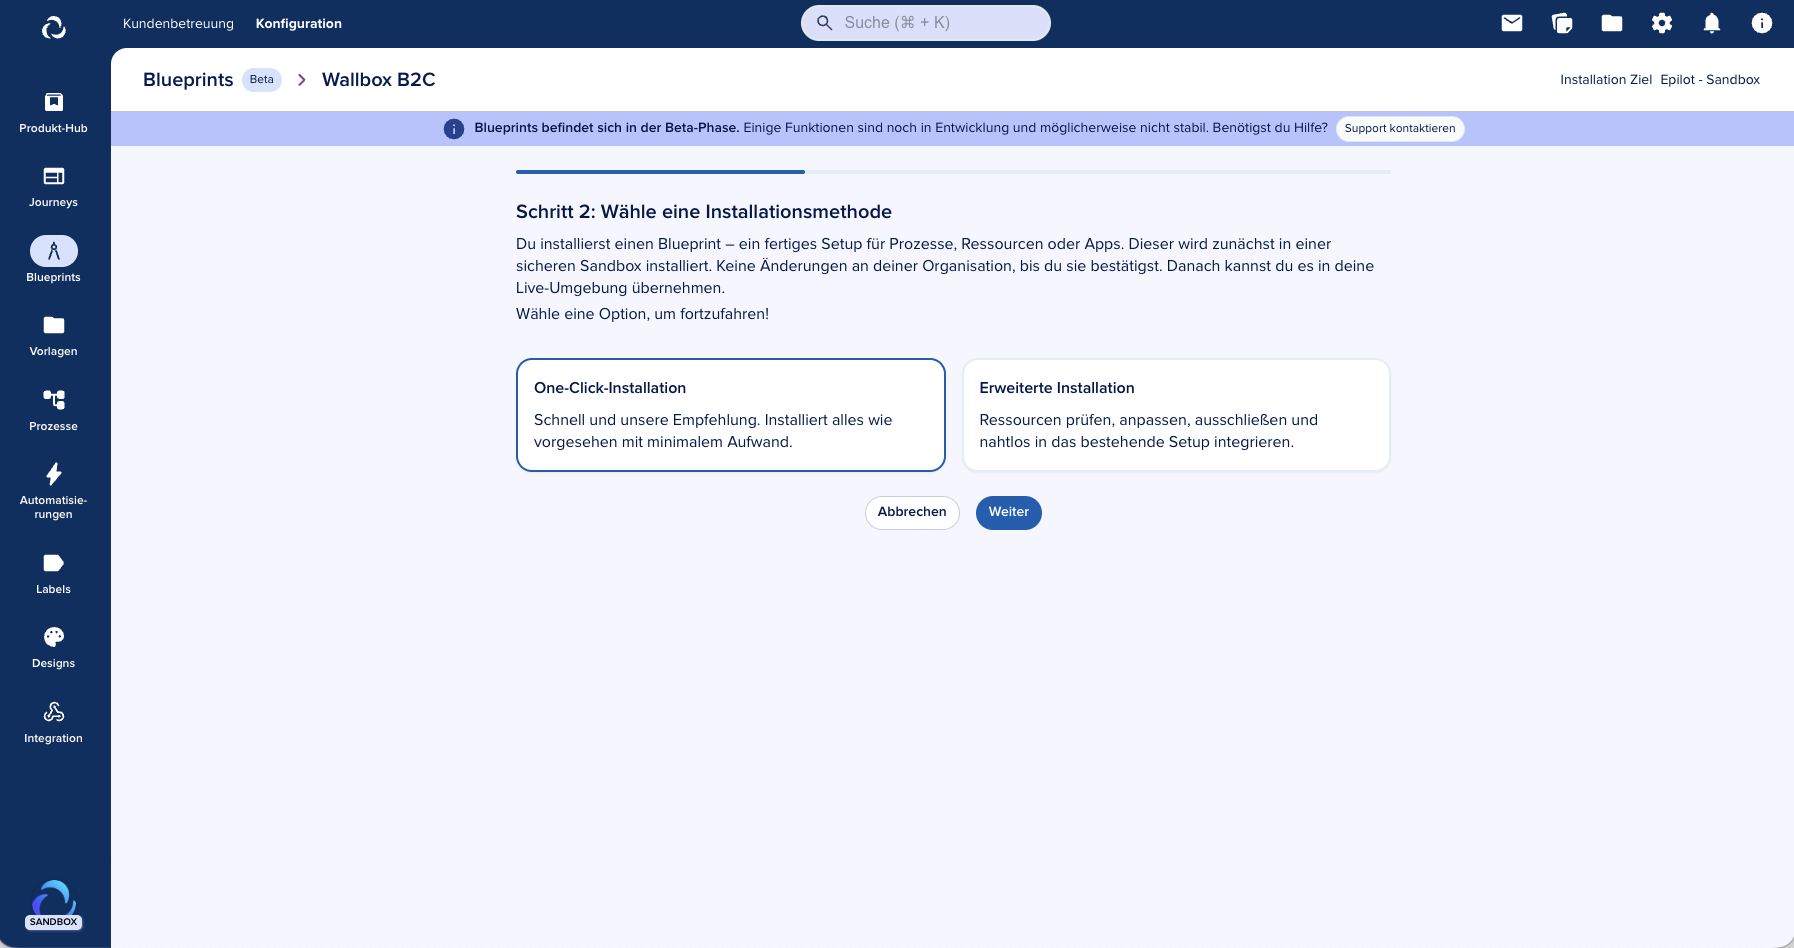
One-click install
After choosing “One-click install” the installation process will start automatically.
Depending on the number of resources included in the chosen blueprint the installation may take up to 5 min.

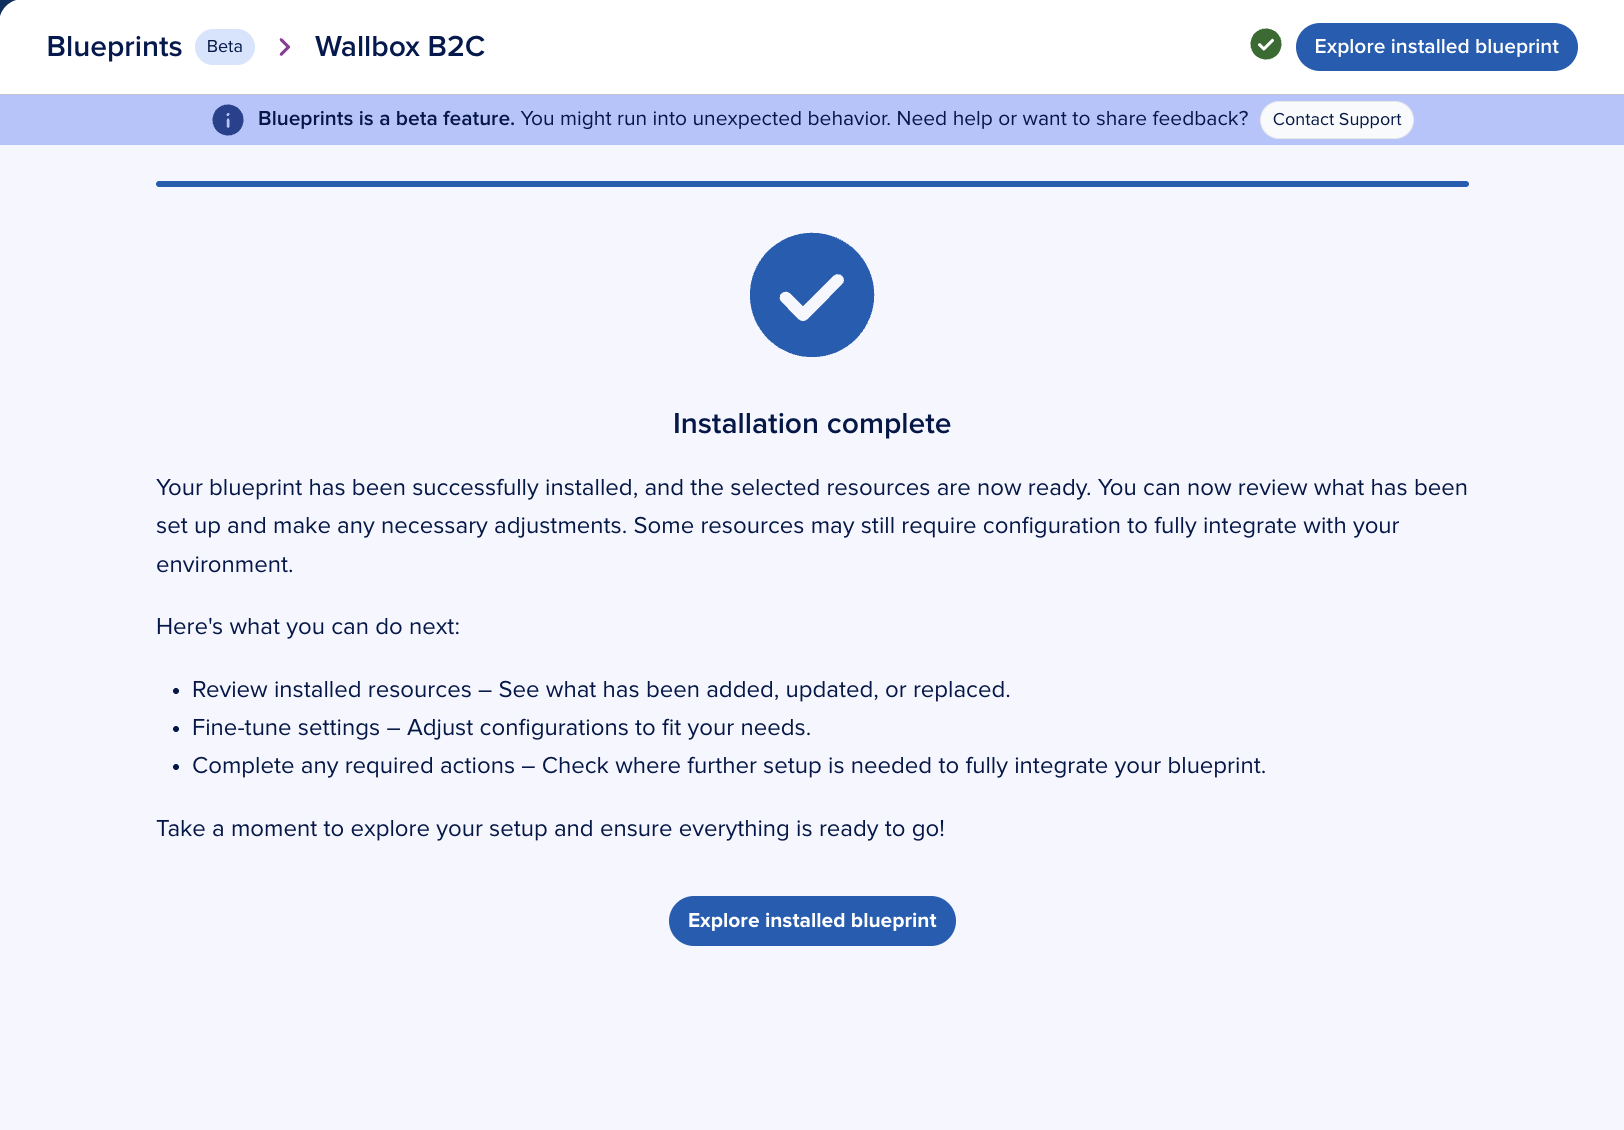
And that’s it! You successfully installed a blueprint from the marketplace. Check out Post-Installation Configuration on how to configure the installed resources.
Next, you can edit it, or synchronize with another organization — click on the relevant sections links for more details.
Advanced install
If "Advanced Install" is chosen, you have fine-grained control over which resources from a blueprint to install.
To remove a resource, uncheck an item and click on “Update installation”.
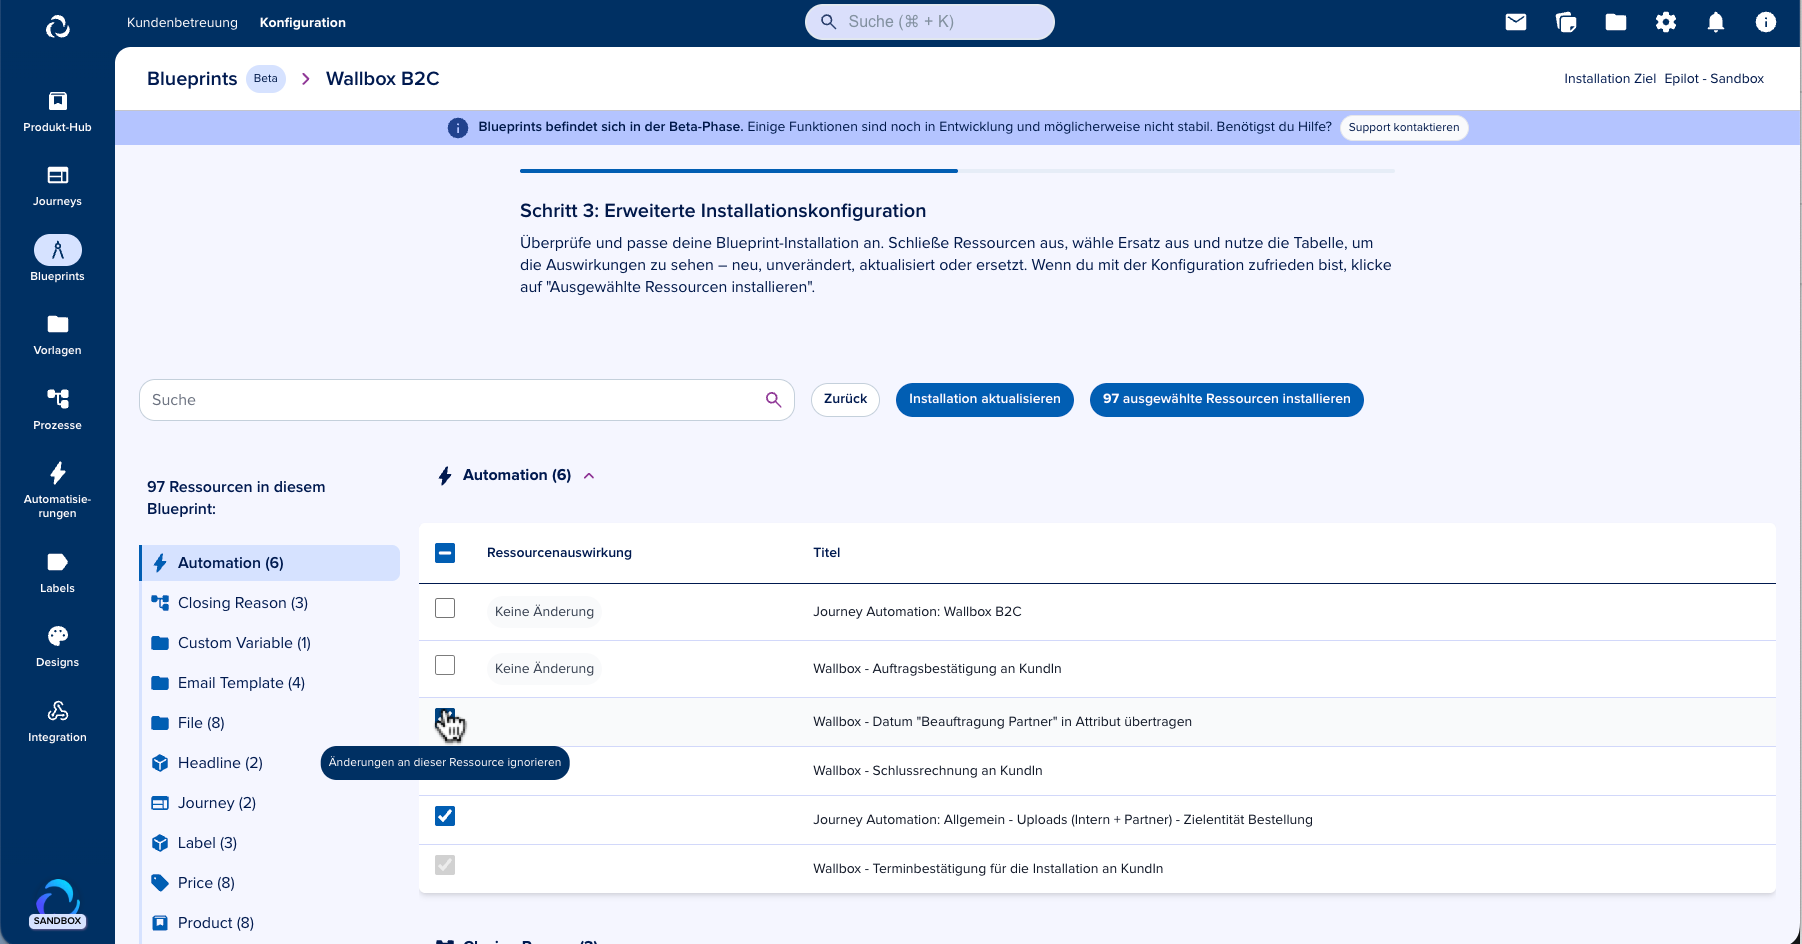
When done selecting resources, click on “Install resources” to continue, the installation will proceed automatically from here.
And that’s it! You successfully installed a blueprint from the marketplace. Check out Post-Installation Configuration on how to configure the installed resources.
Next, you can edit it, or synchronize with another organization — click on the relevant sections links for more details.
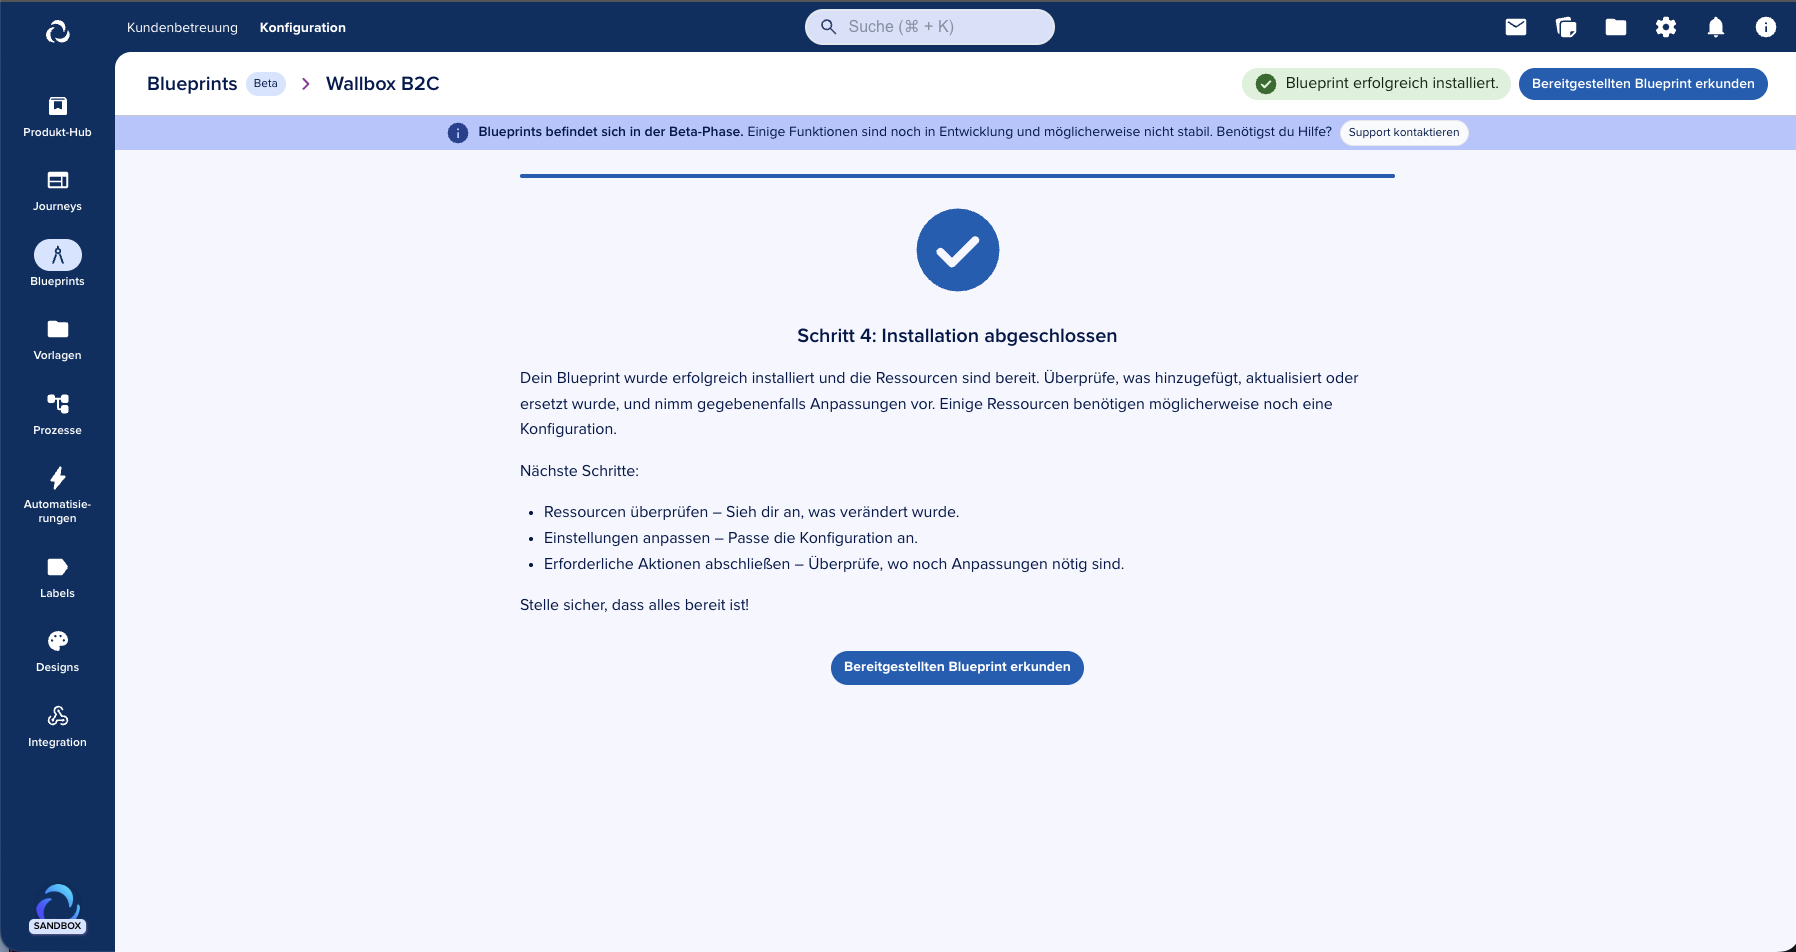
Post-Installation Configuration
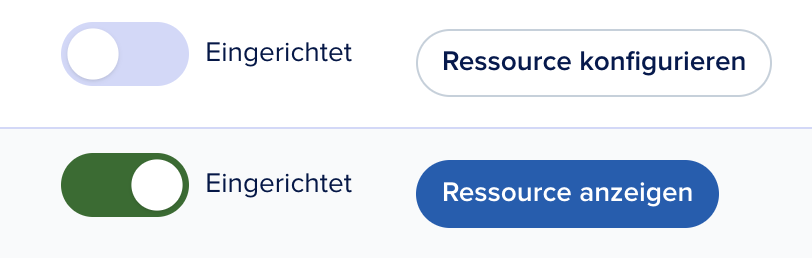
After a Blueprint is installed, some resources may still require additional setup before they can be fully used. In the list view, these resources appear with the “Ready to use” toggle switched off. You can also filter the list to quickly see which items are not yet marked as ready.
In the list view, click the link next to the toggle to open a resource in a new tab.
Define and save any changes needed for the resource.
Return to the Blueprint overview and toggle the resource as ready to use.
Marking a resource as ready is optional and is meant to help you keep track of configuration progress.
Creation of Custom Blueprint
Besides installing a blueprint from marketplace, you are also able to create your own Blueprints.
With Custom Blueprints you can combine available resources to create your own Blueprint. With that you are able to:
Organize use-cases
Test combinations of resources in a sandbox
Share your use-case with other orgs
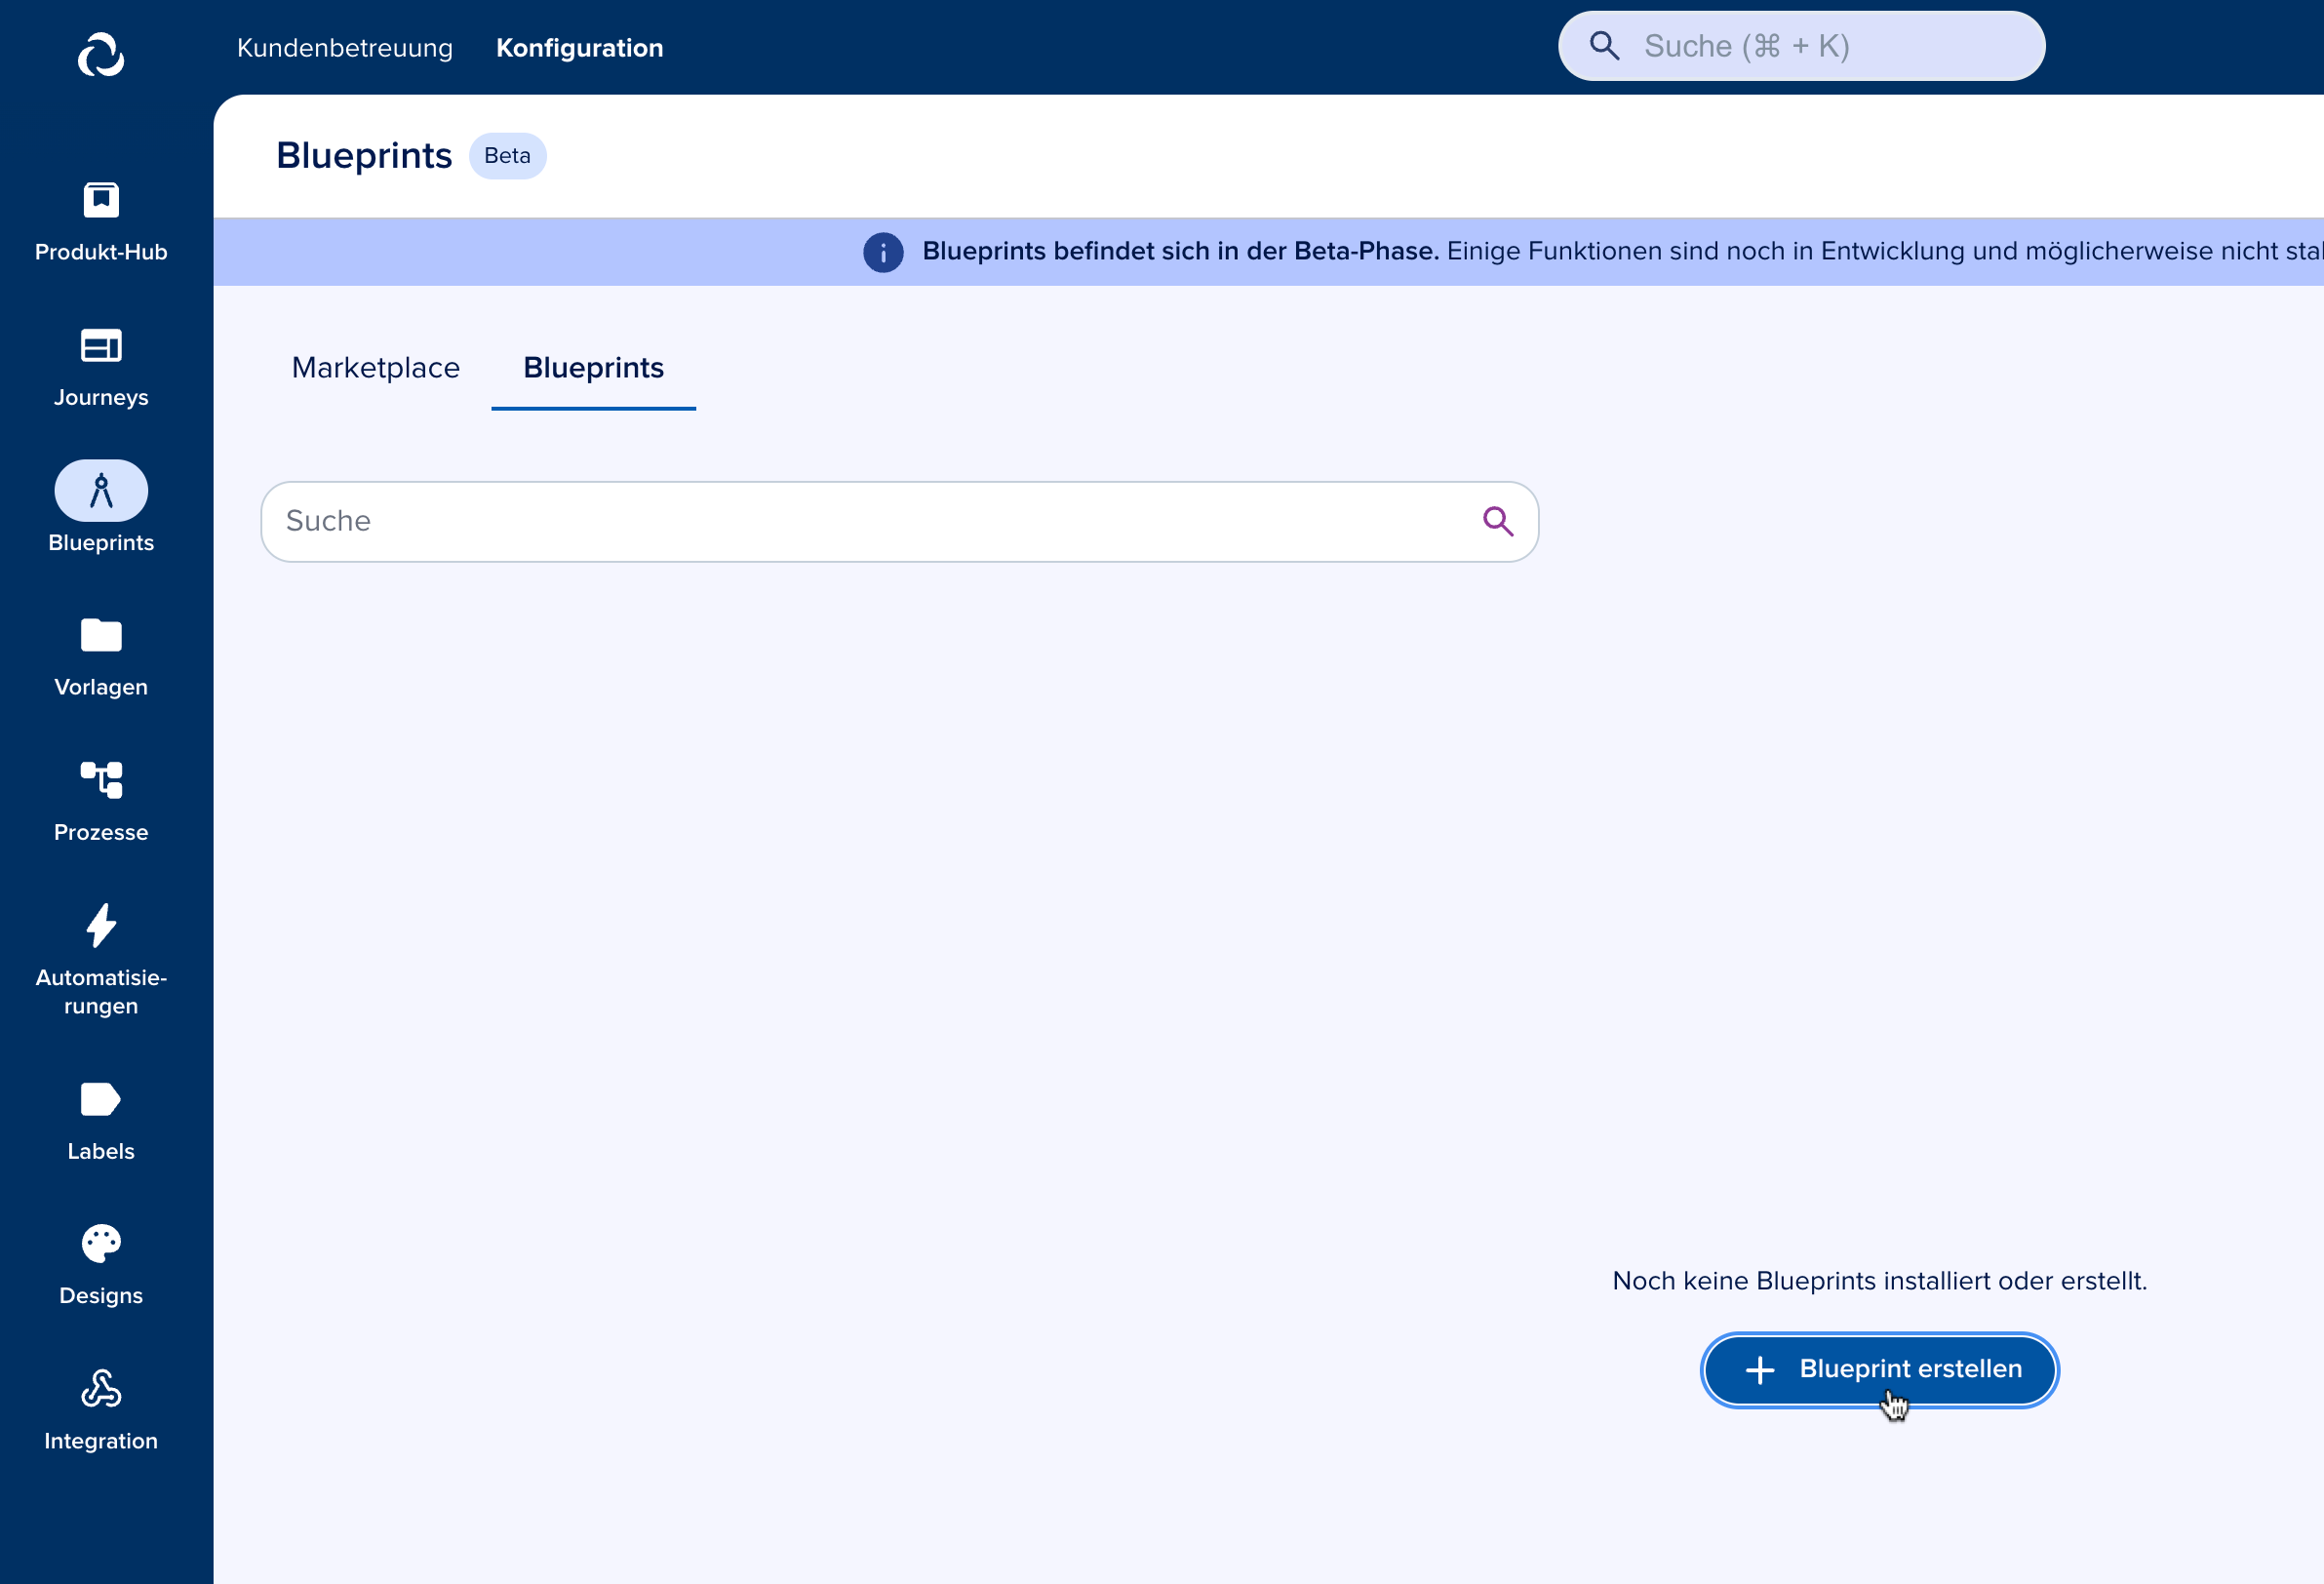
To create a Custom Blueprint, go to Configuration → Blueprints and select the tab “Blueprints”.
On the bottom you will see “Create Blueprint”, click on it to start the creation process.
You will be presented with a screen that allows you to select Resources to include in your Custom Blueprint.
Click on “Add resources” to continue.
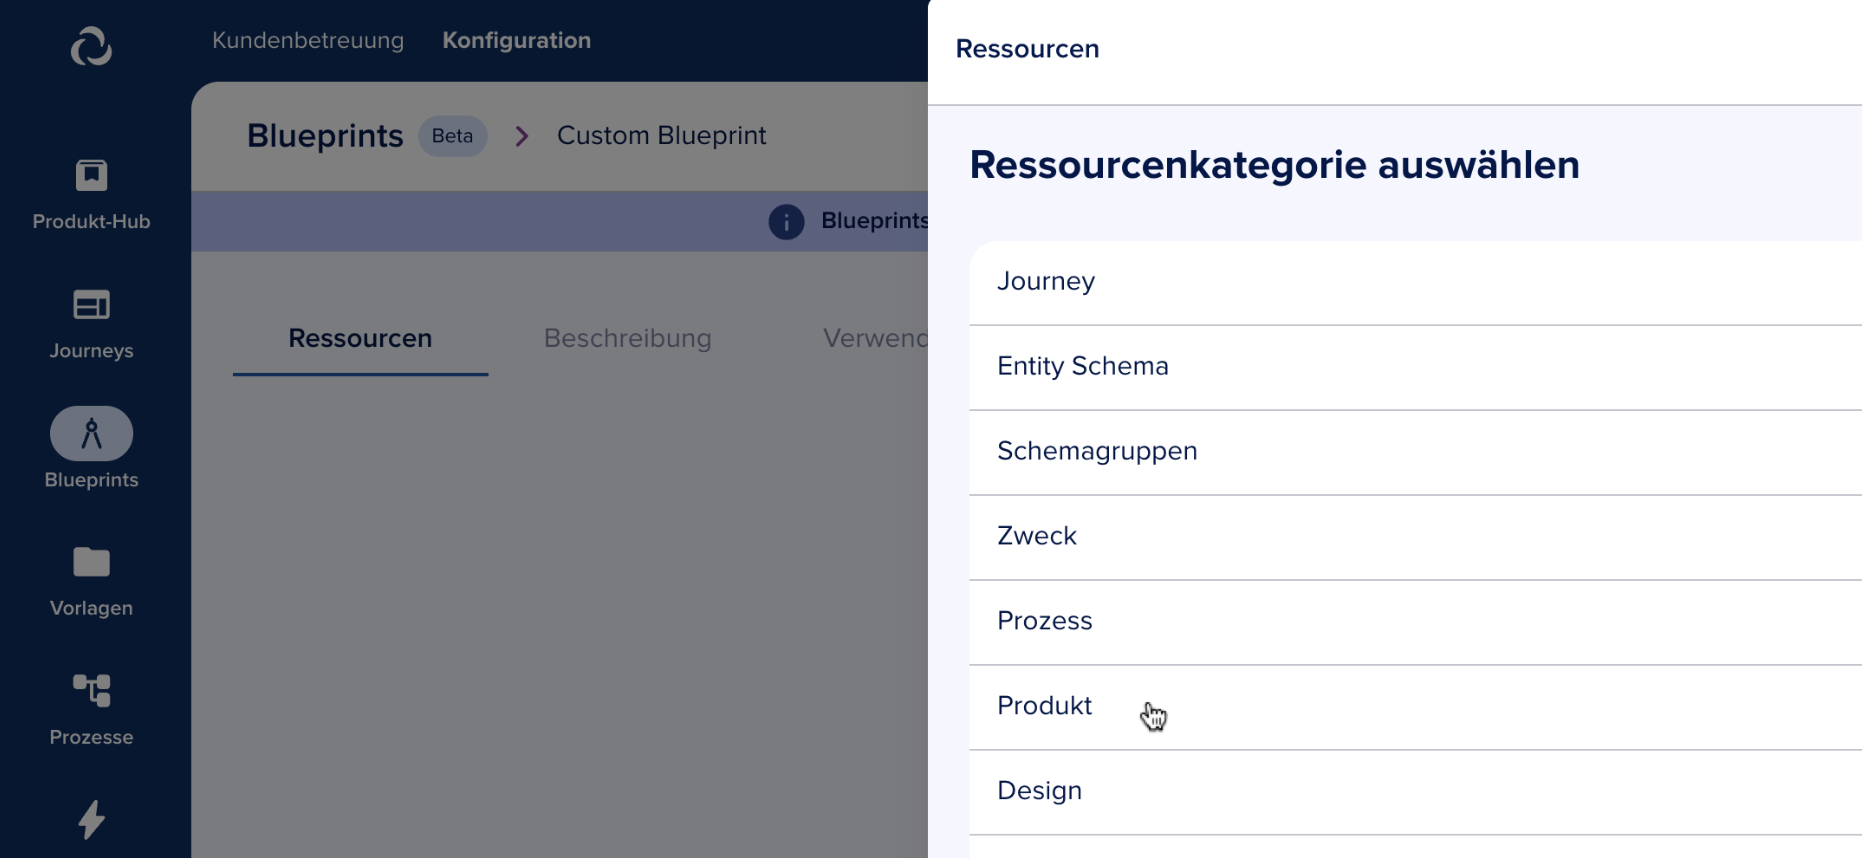
You will be presented with a list of categories of resources, select one to continue.
After, select the specific resources on that category you wish to include, here we are adding a single Product.
info
Note: A resource will be added together with any other resources linked to it.
That's it -- you have created your own Blueprint.
You will be redirected to the resources view where you can further edit it. See Editing Blueprints for details.