Single Sign-On (SSO)
Single Sign-On (SSO) lets users authenticate to epilot using credentials from your identity provider instead of separate epilot passwords.
epilot supports OIDC-based SSO.
Configure SSO
Create a provider
- Go to Settings > Single Sign On in the epilot portal.
info
If the SSO option is not visible, contact customer success to enable it for your organization.
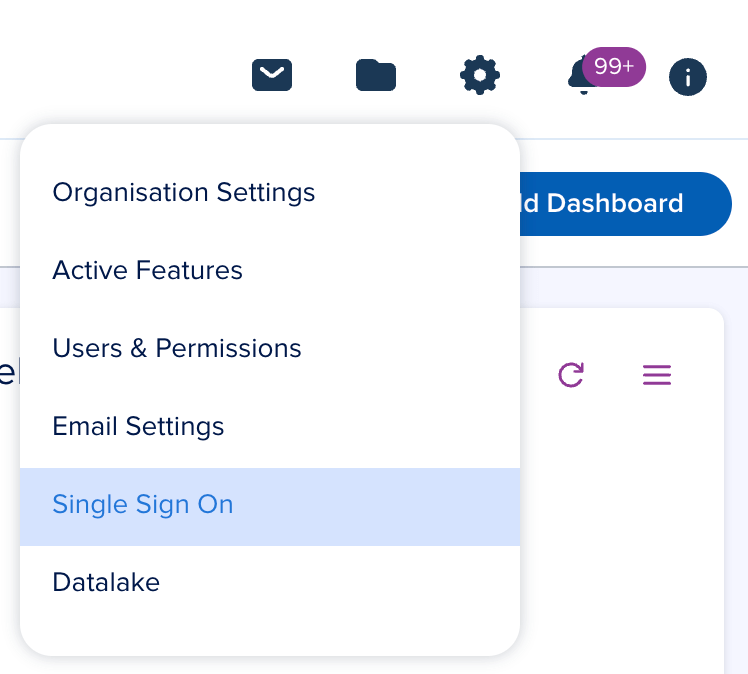
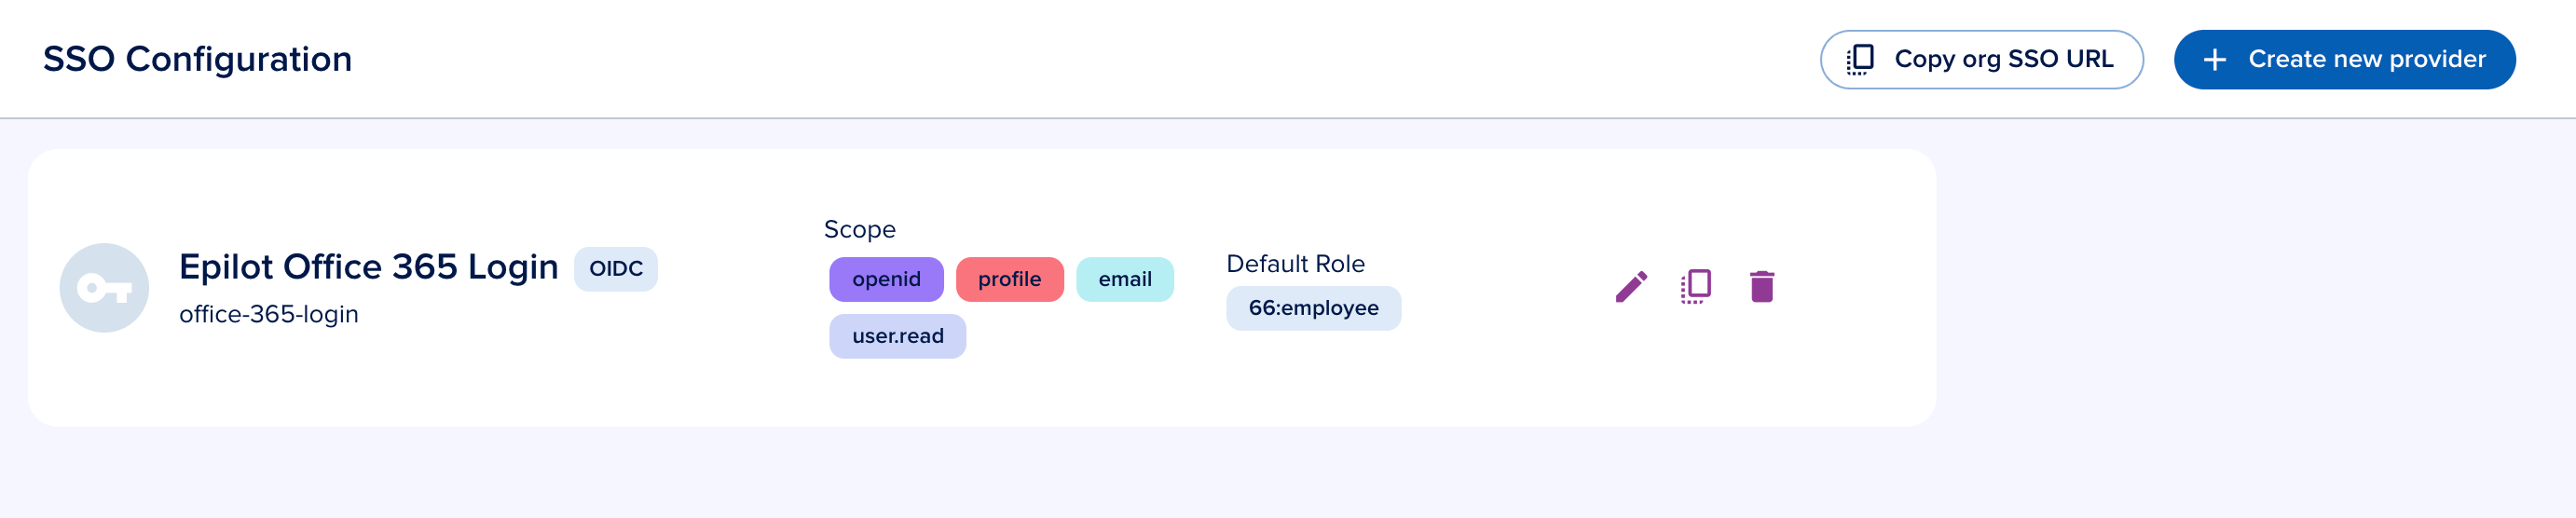
- The SSO page lists all configured providers. Click Create new provider to add one.
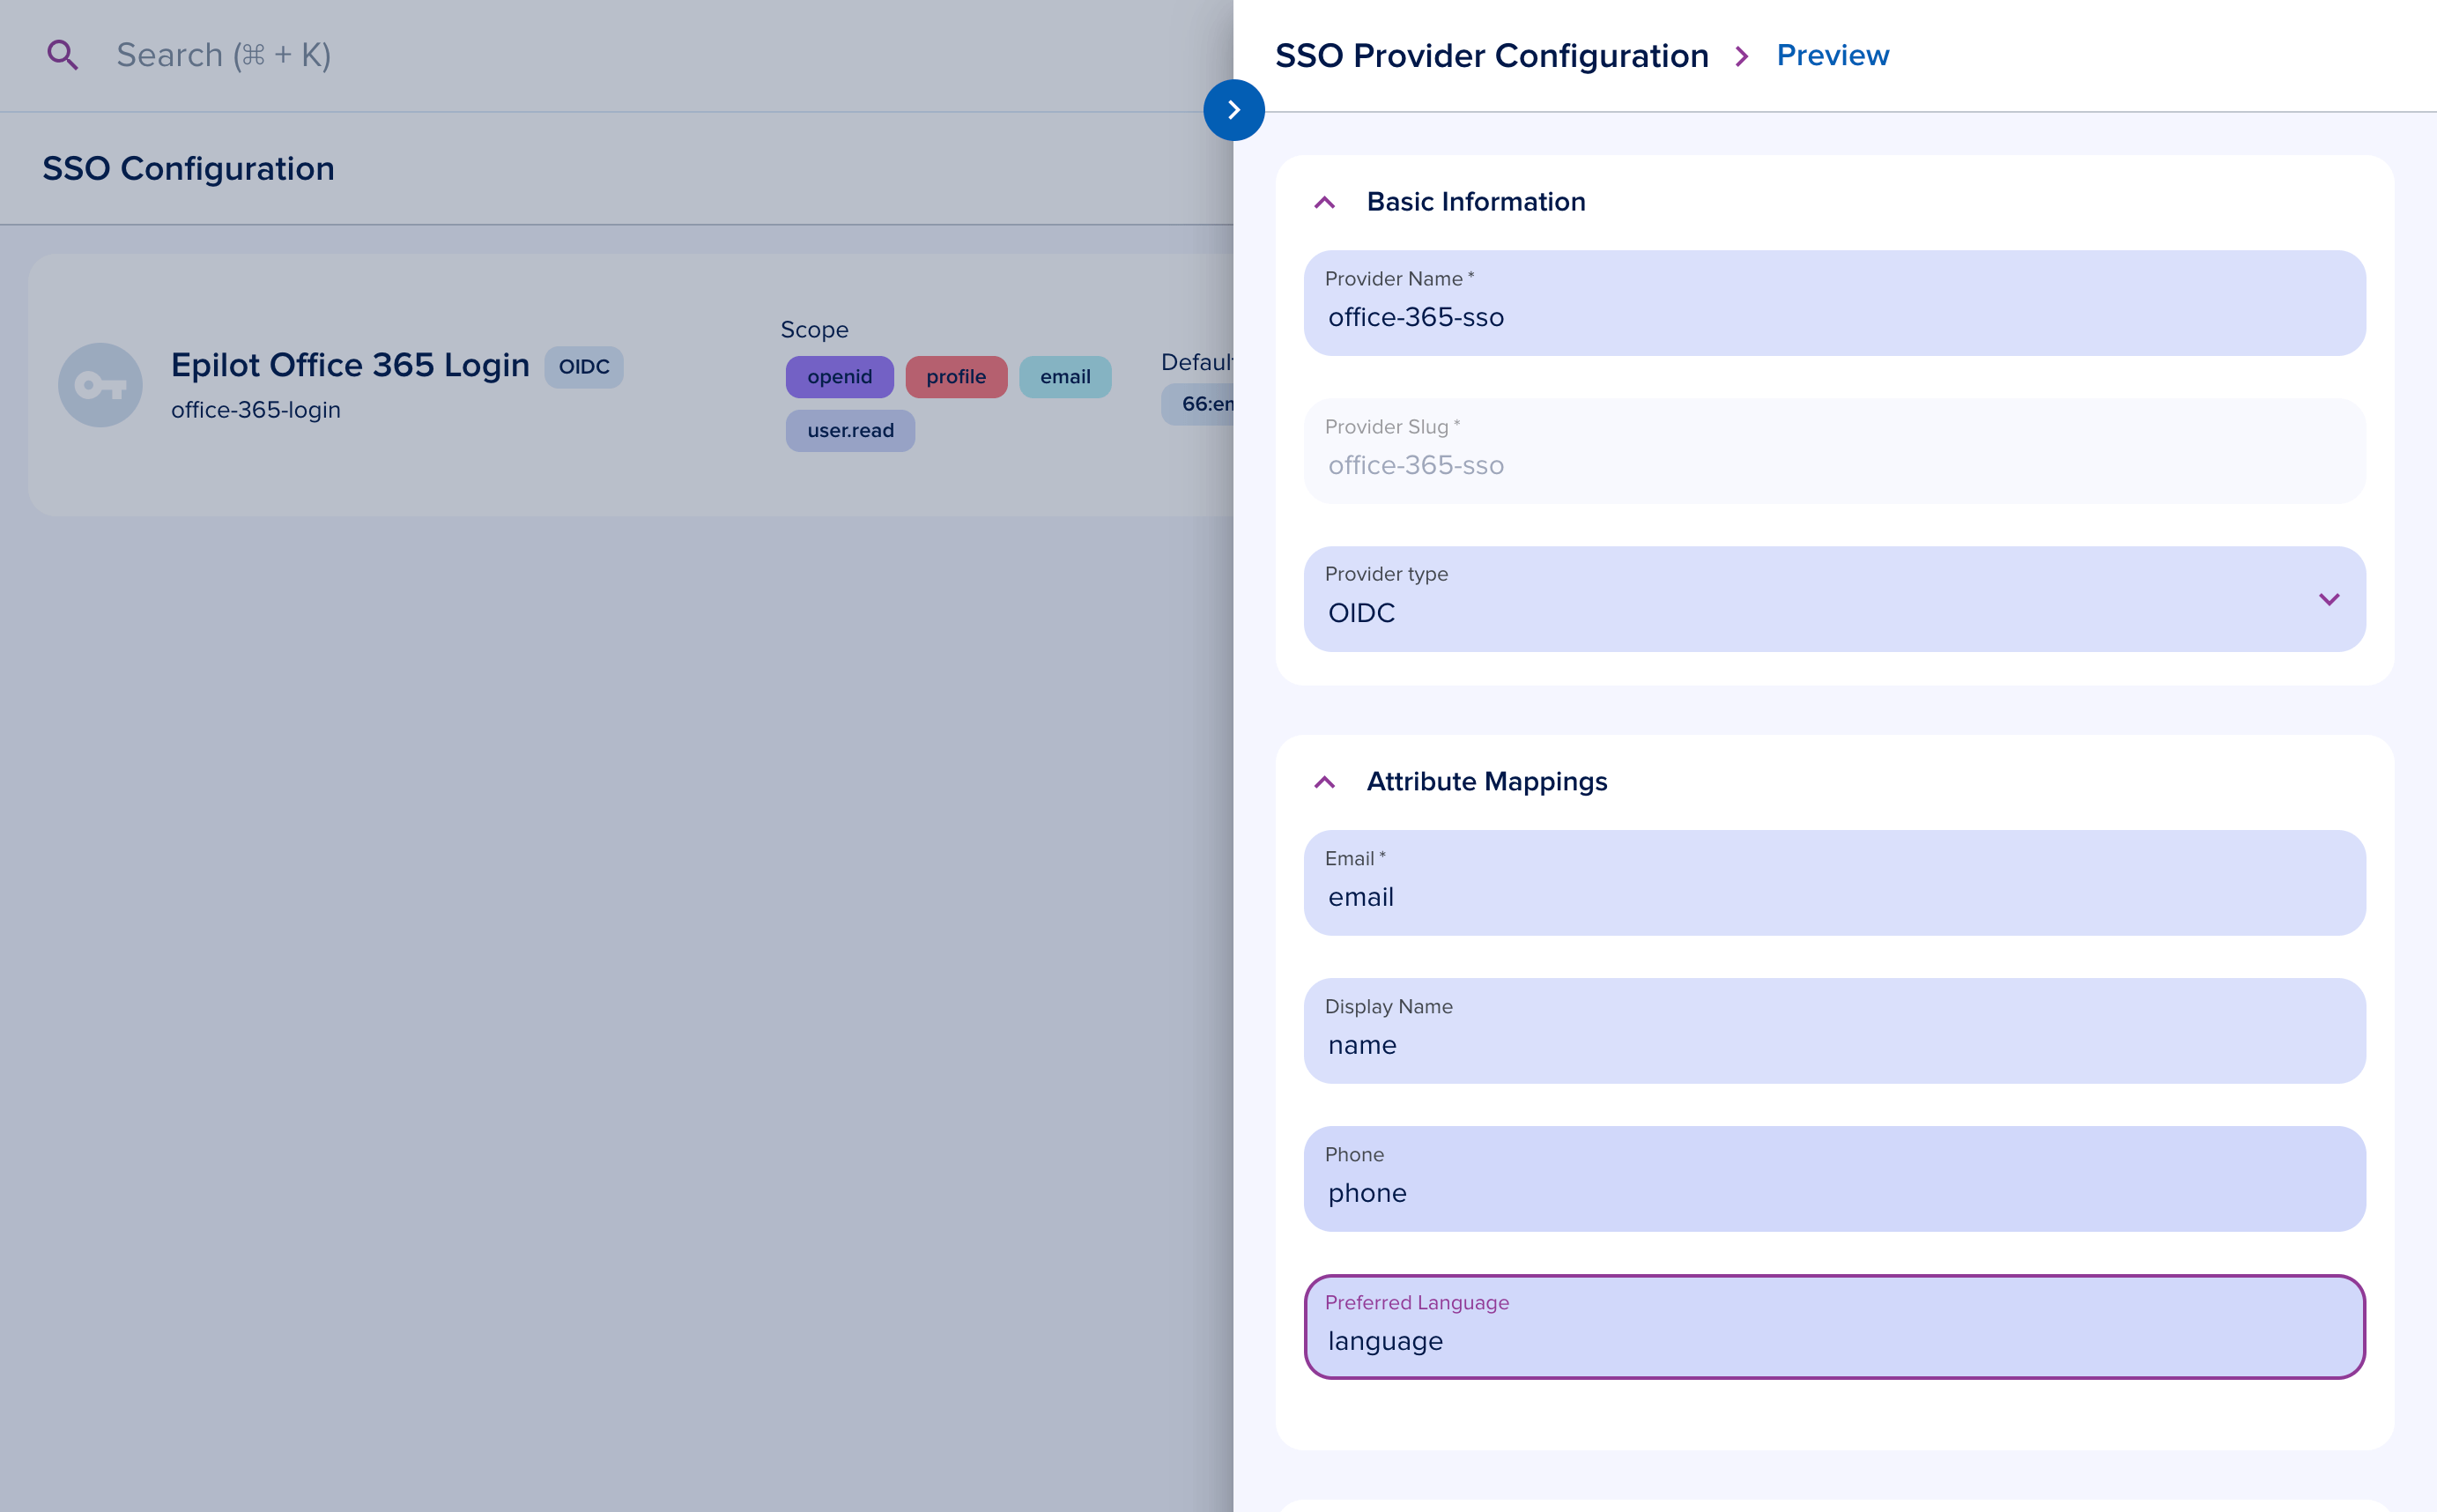
Attribute mappings
Select OIDC as the provider type and configure attribute mappings for email, display name, phone number, and language from the token payload.
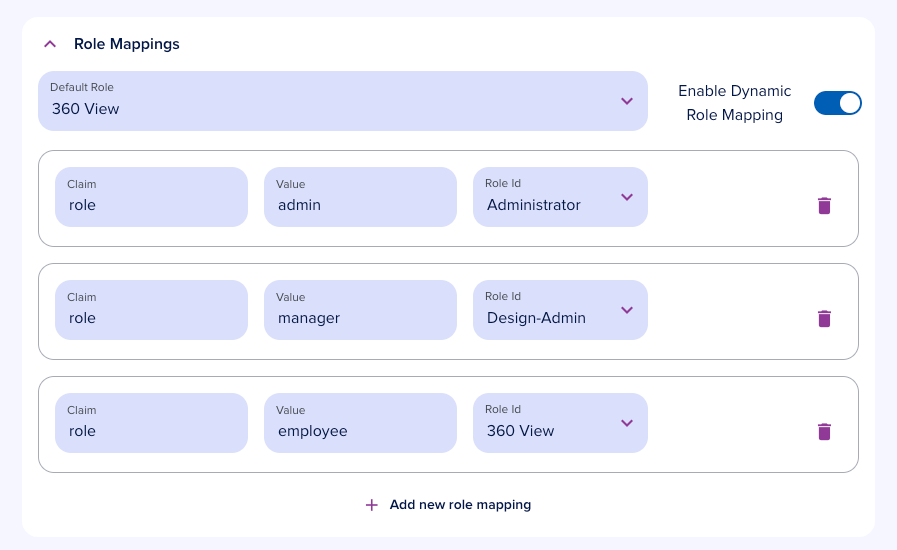
Role mappings
Map token claims to epilot roles. Set a default role that applies when no mapping matches.
When Dynamic Role Mapping is enabled, roles sync on every SSO login. When disabled, roles are only mapped on the user's first SSO login.
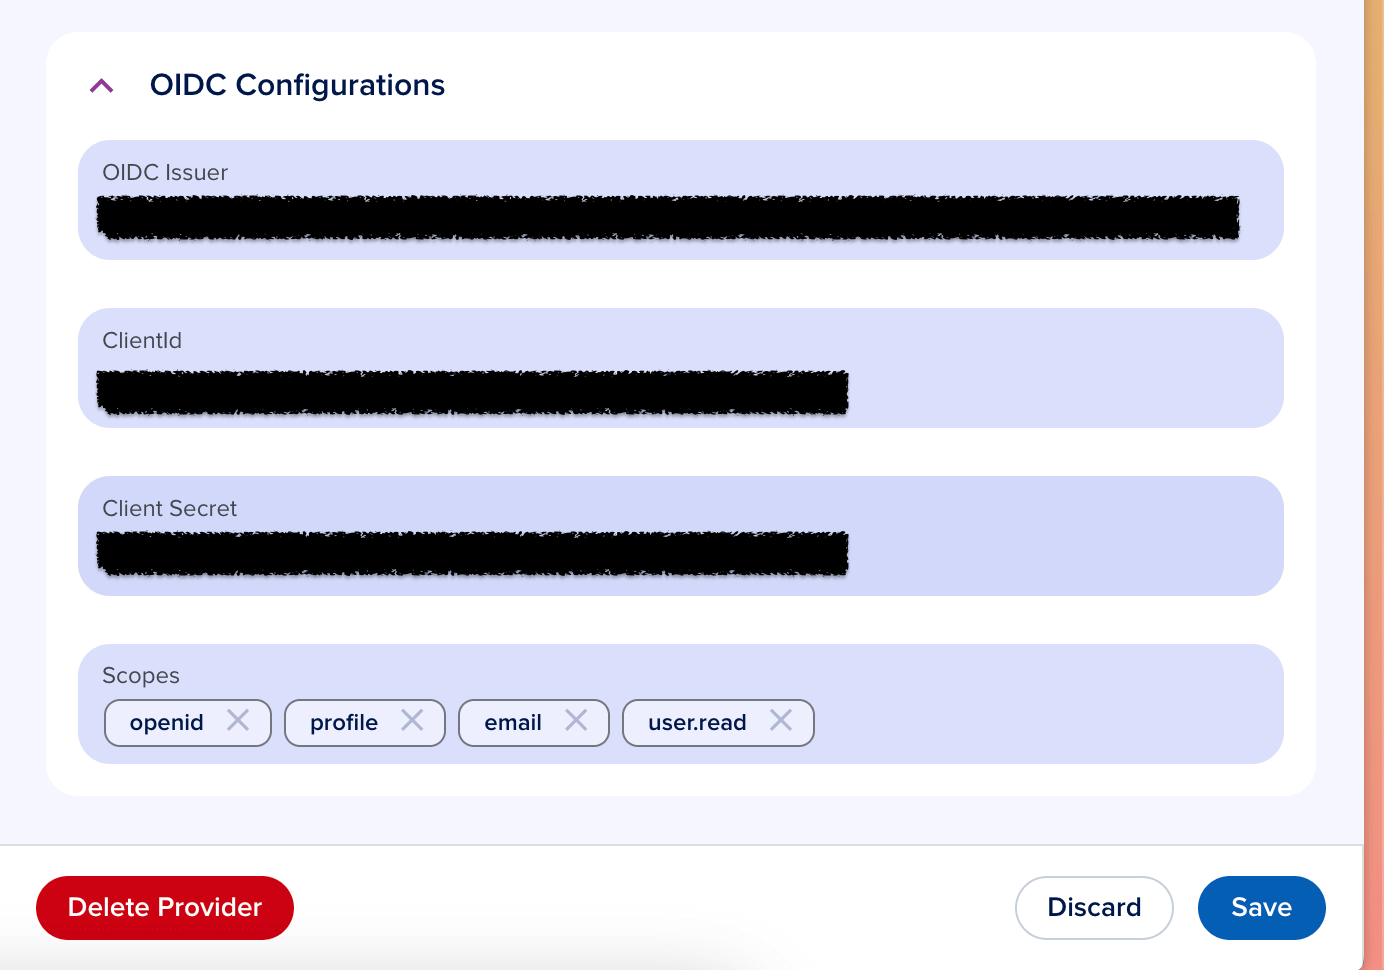
OIDC configuration
Create an app registration in your identity provider (e.g. Microsoft Entra ID). Add the platform as Single Page Application with the redirect URL:
https://portal.epilot.cloud/sso

Create a client secret and enter the OIDC Issuer URL, Client ID, Client Secret, and Scope.
Click Save. Copy the login URL from the saved configuration to enable direct SSO login.